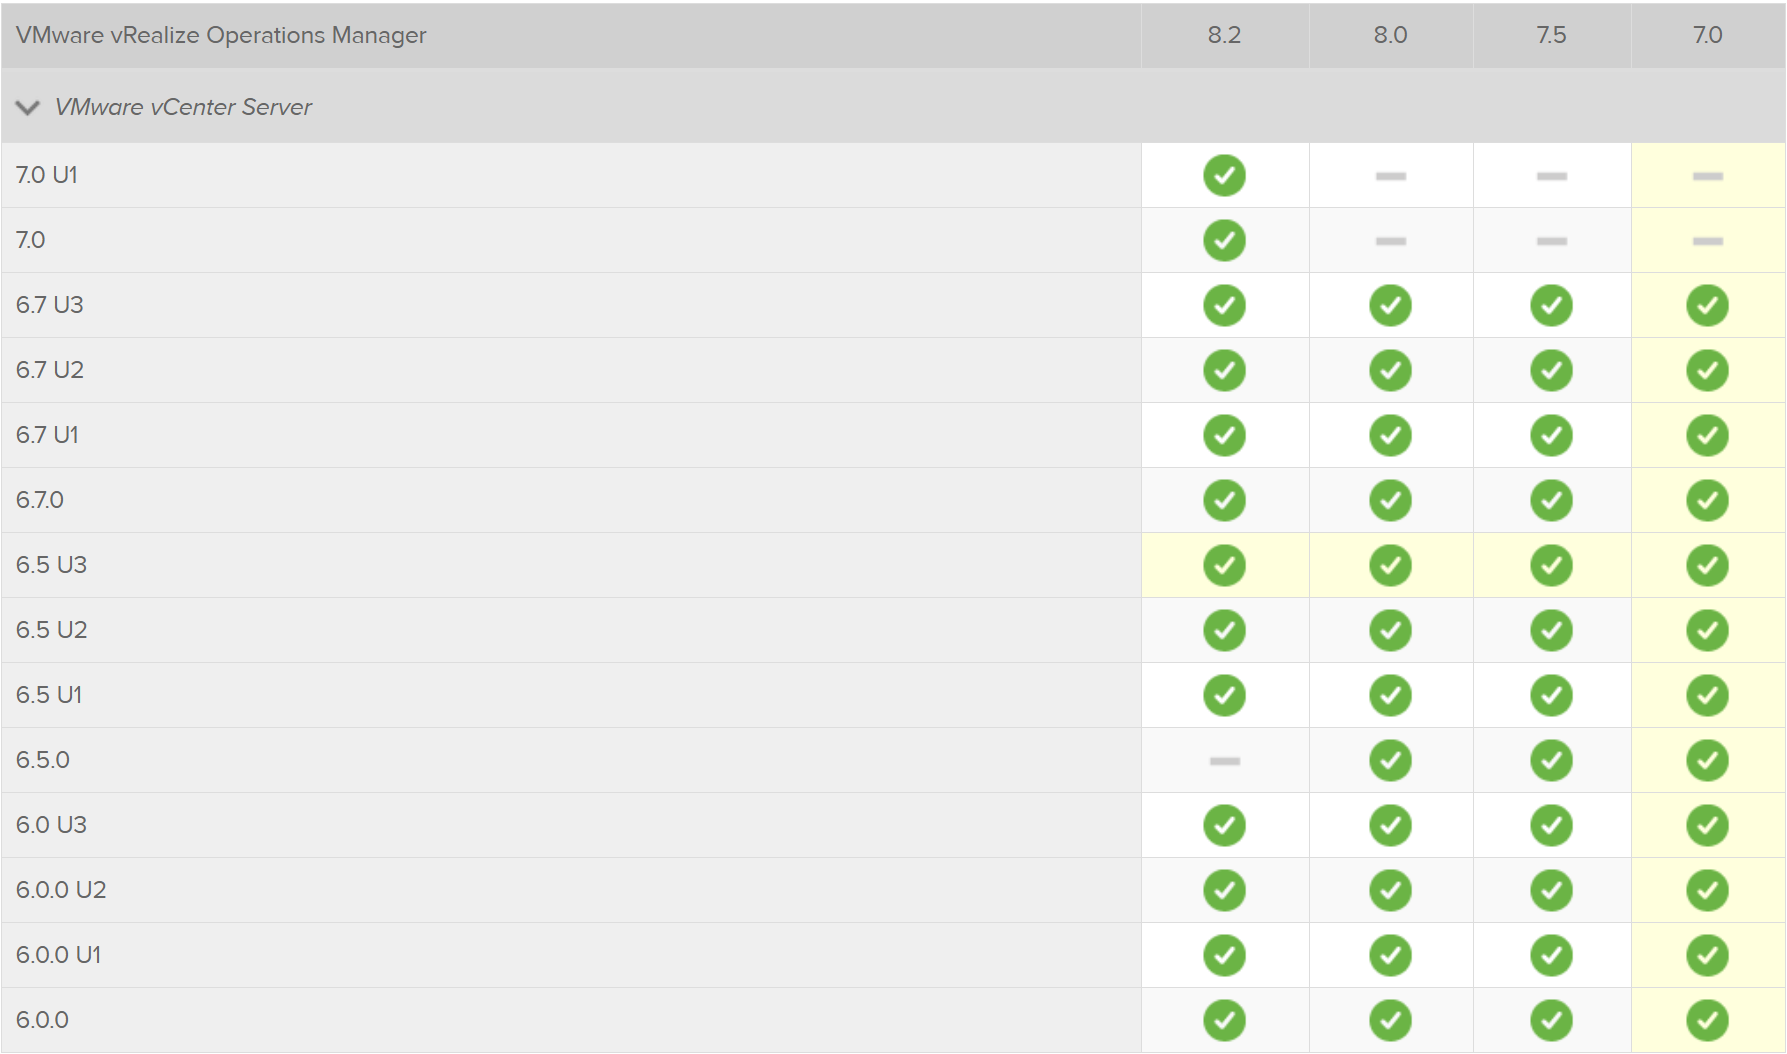
1、查兼容列表,确认VMware vRealize Operations Manager 版本和当前vCenter版本是否兼容。
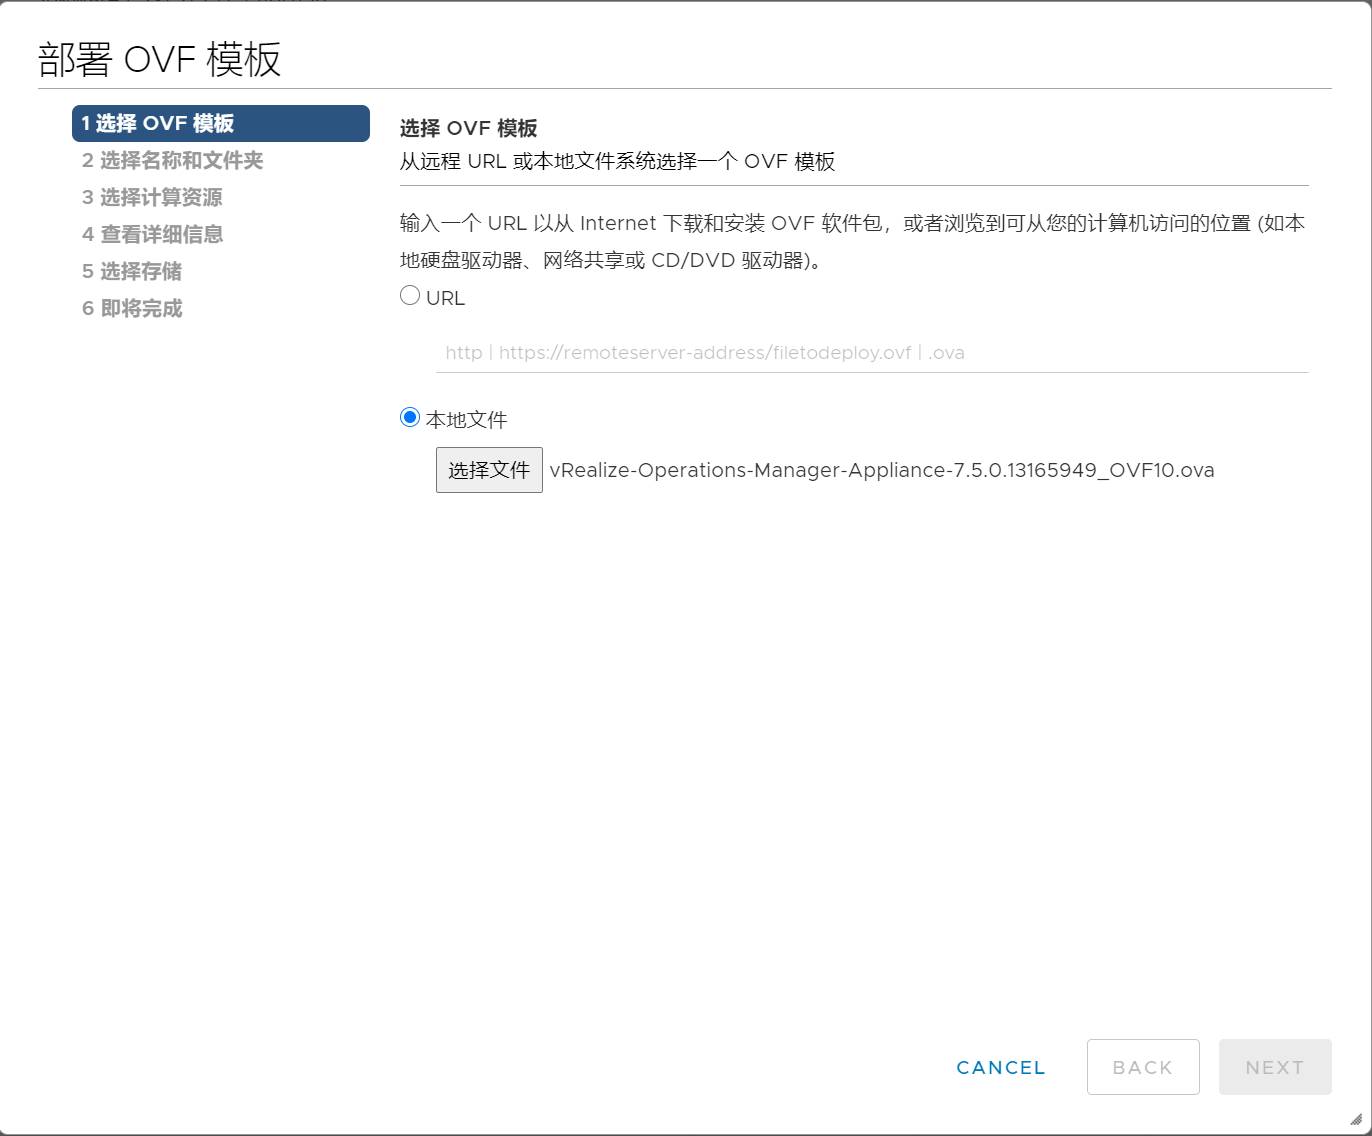
2、导入ovf模板
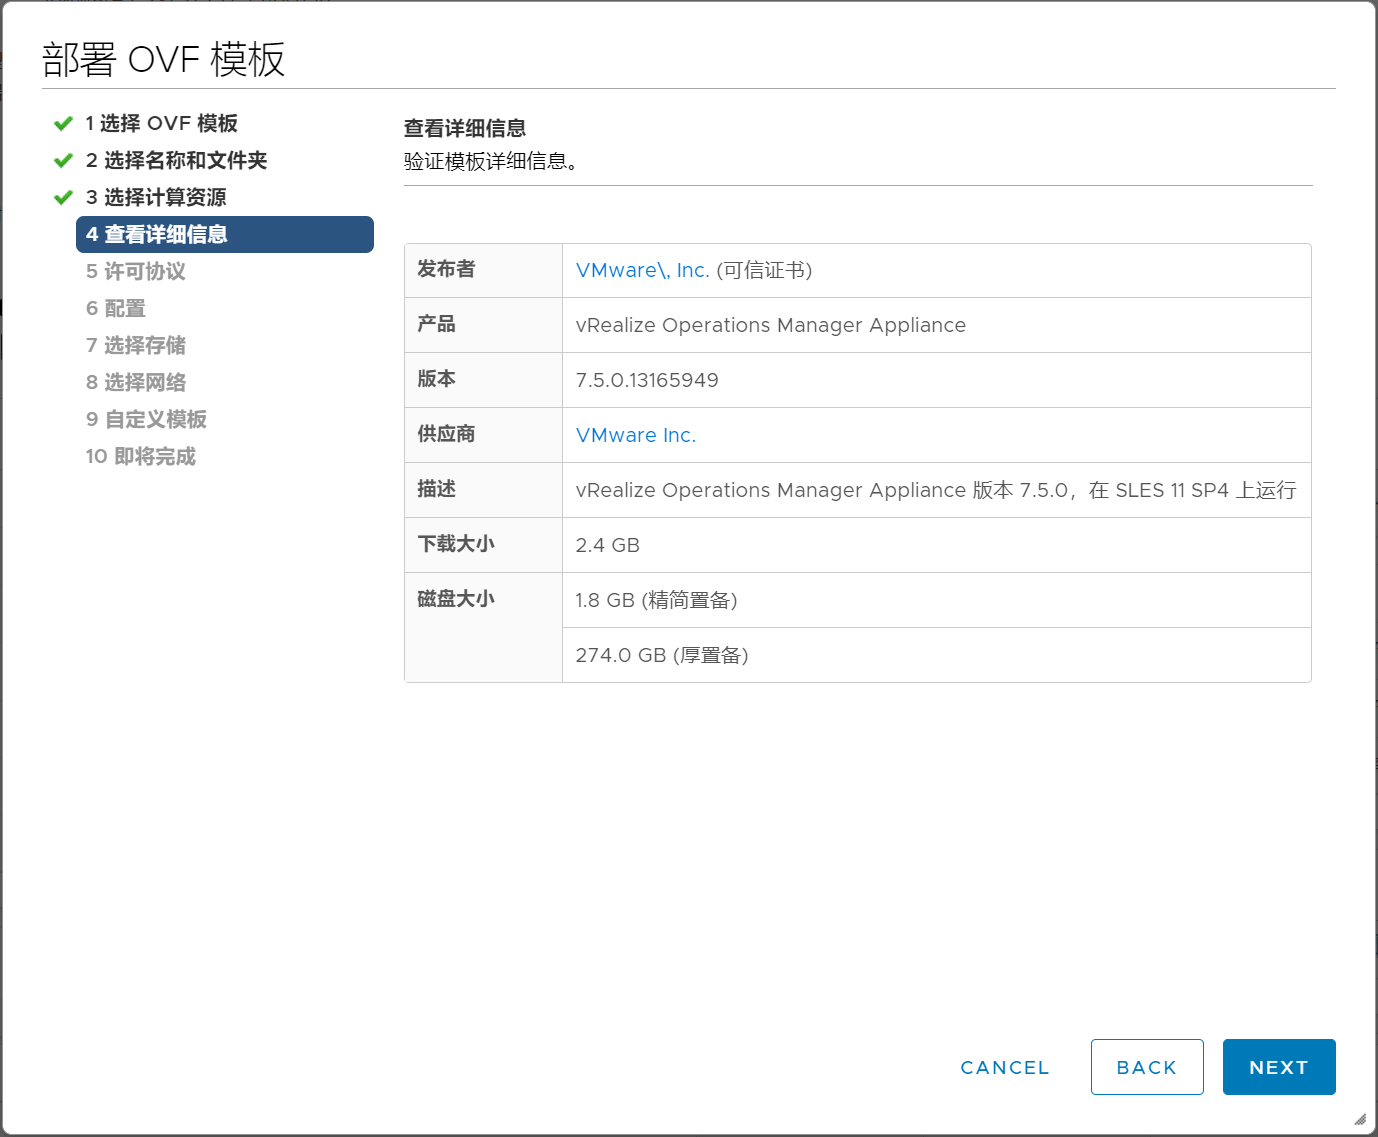
3、查看详细信息
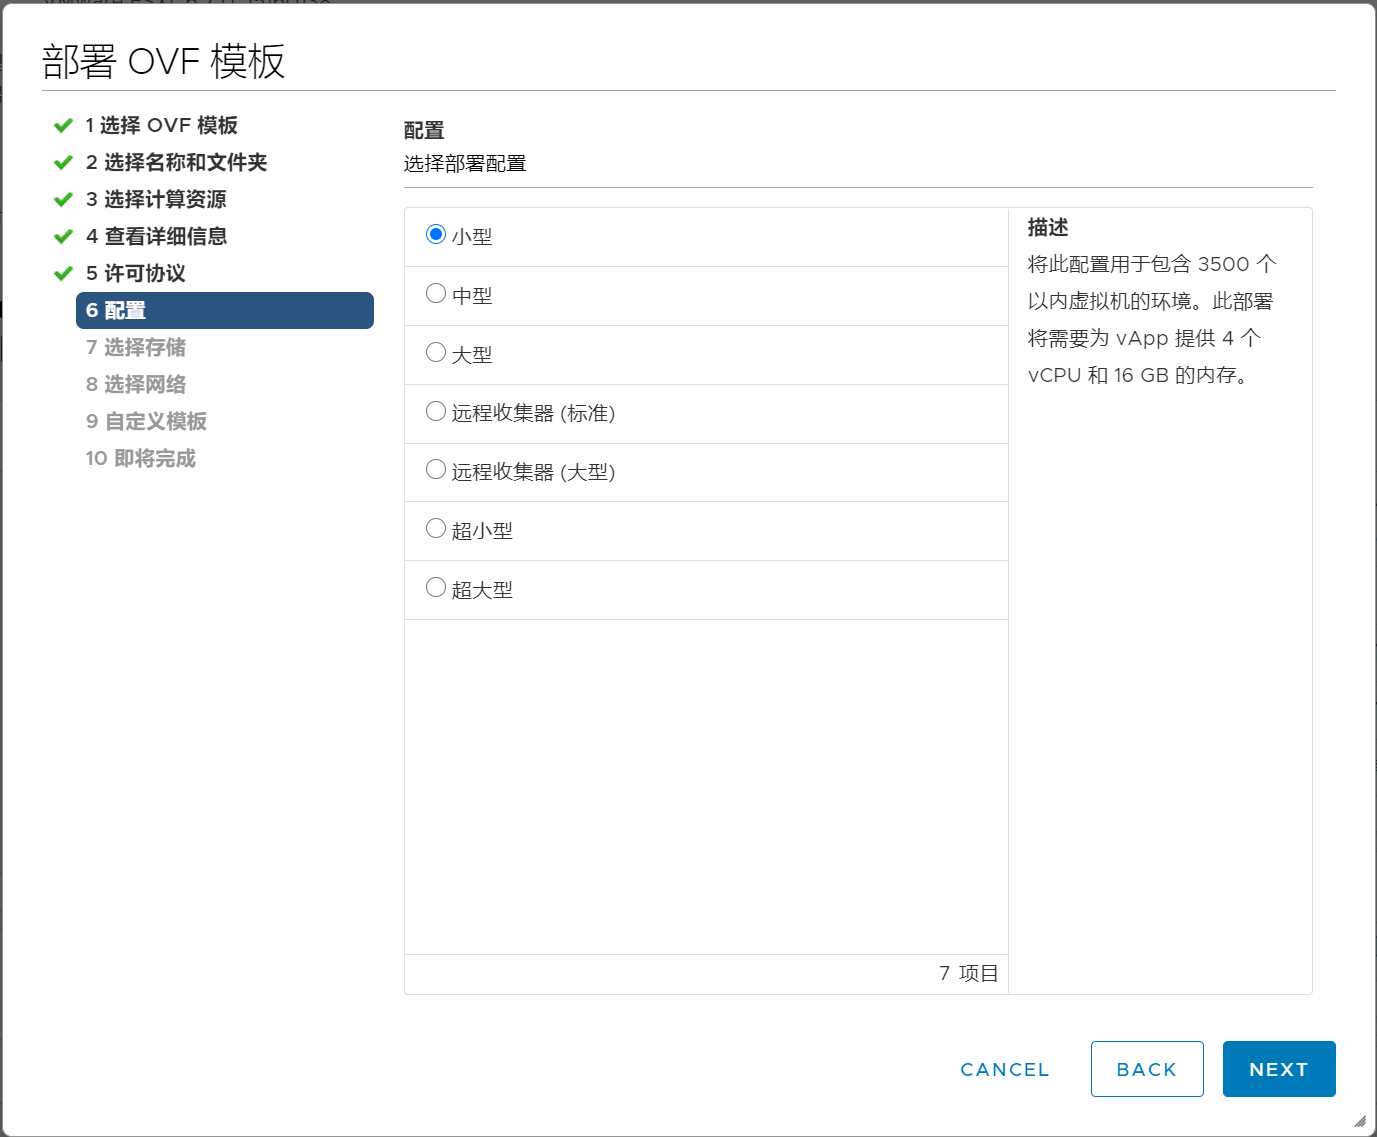
4、选择部署配置
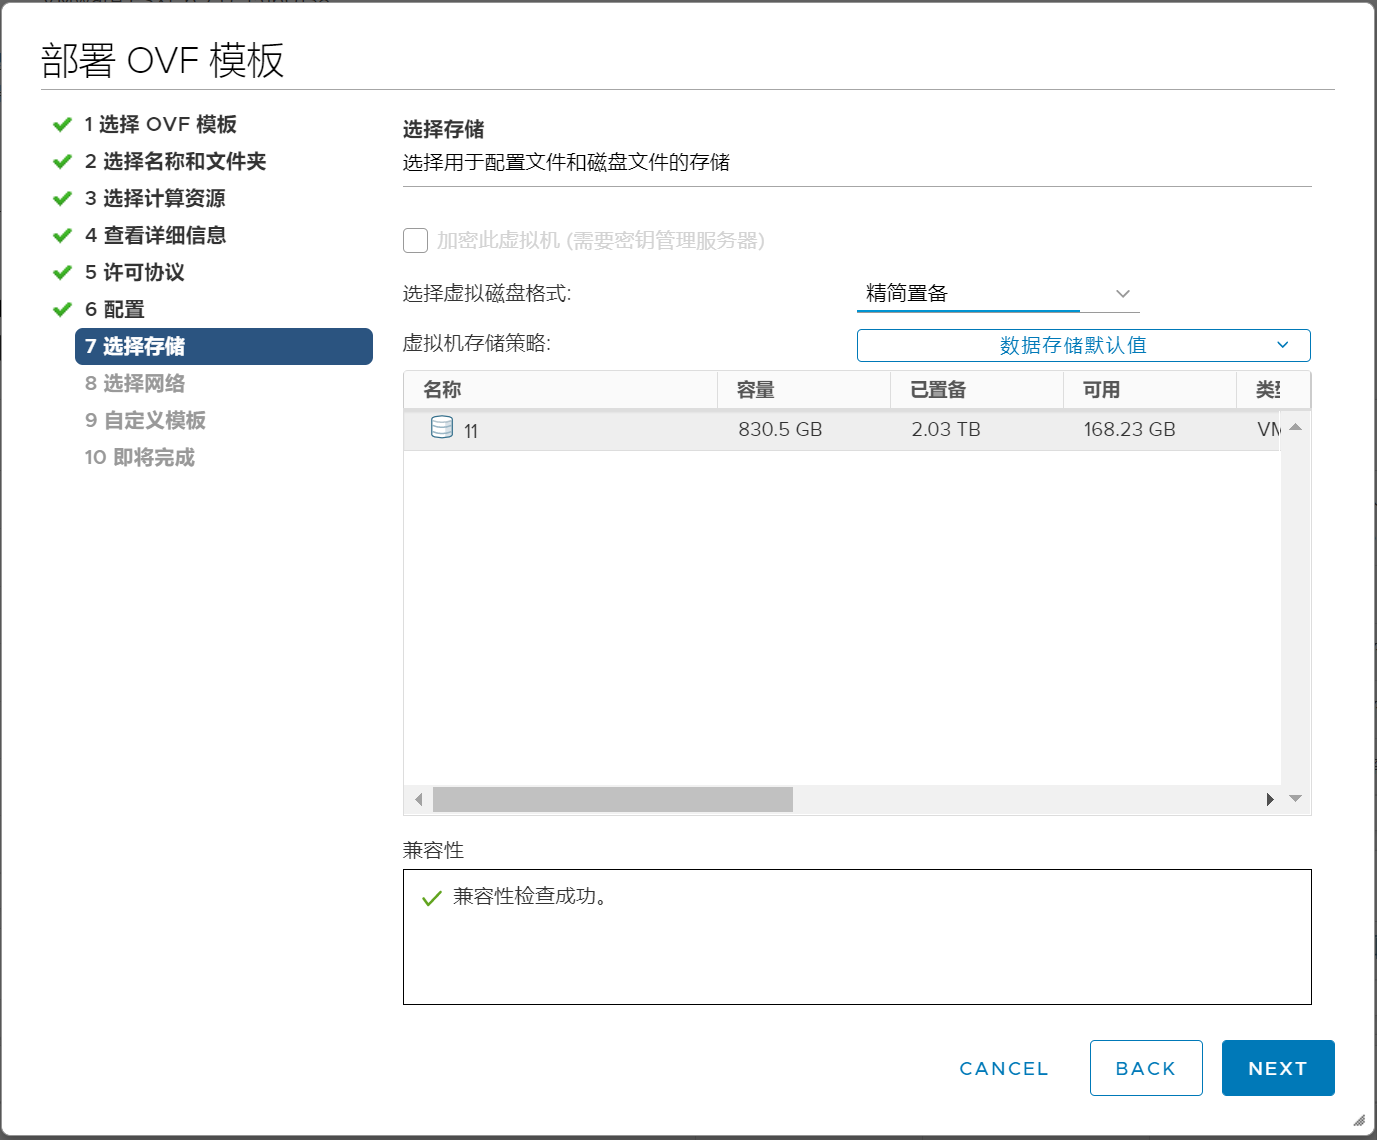
5、选择部署的存储位置,虚拟机磁盘模式注意选择“精简模式”
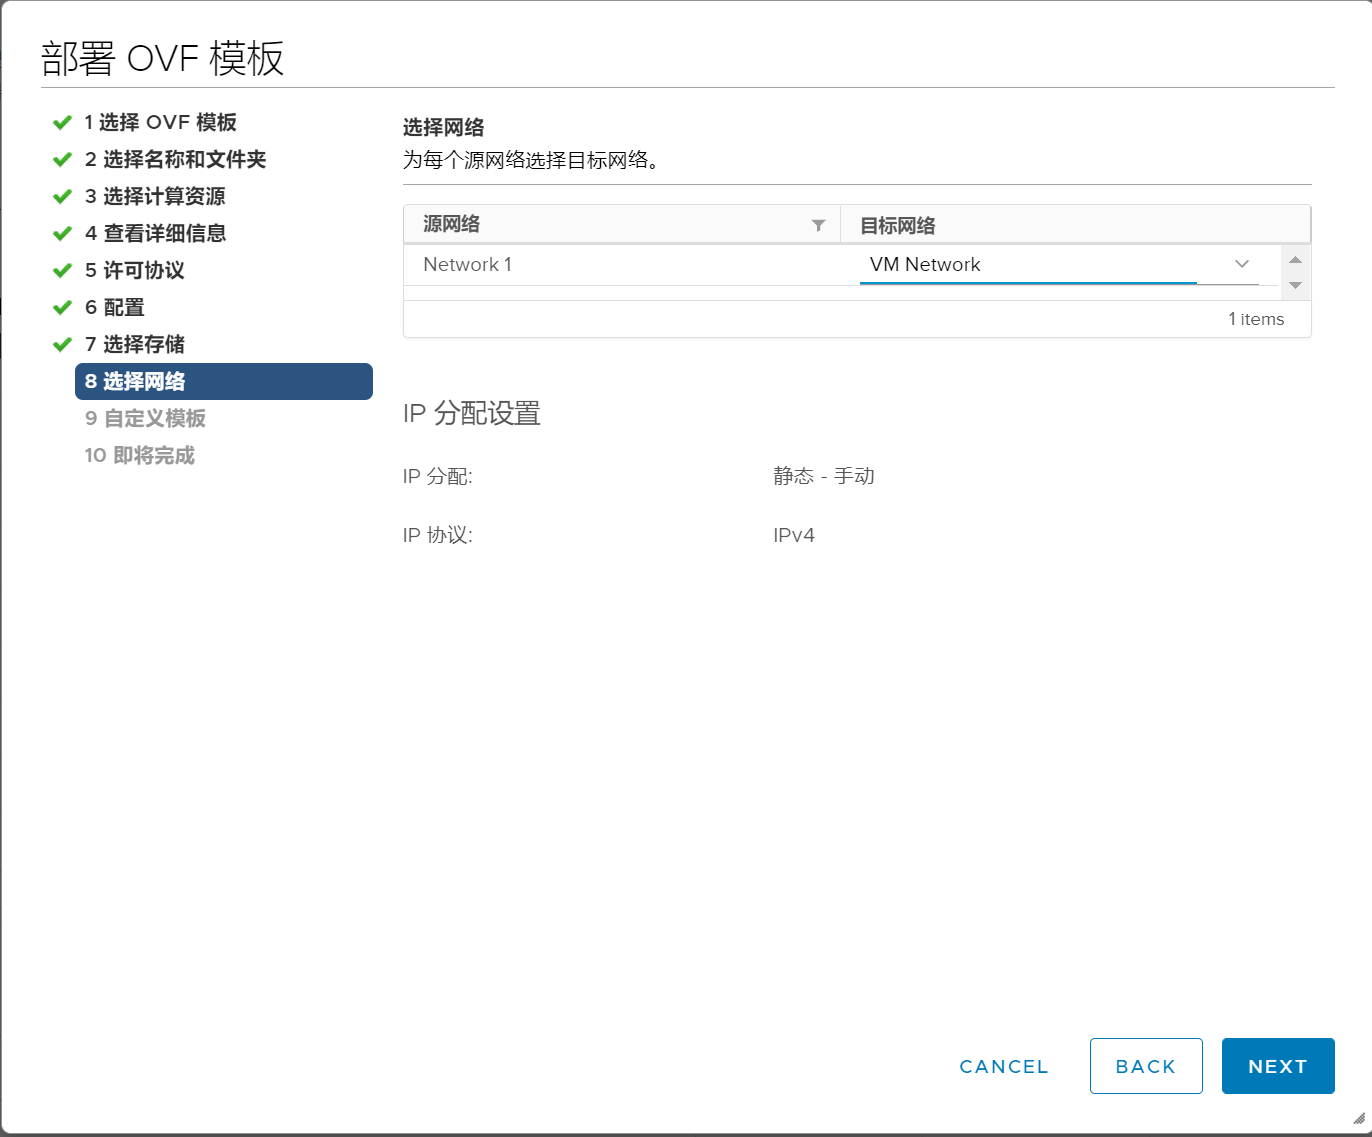
6、选择网络。注意目标网络通信正常。
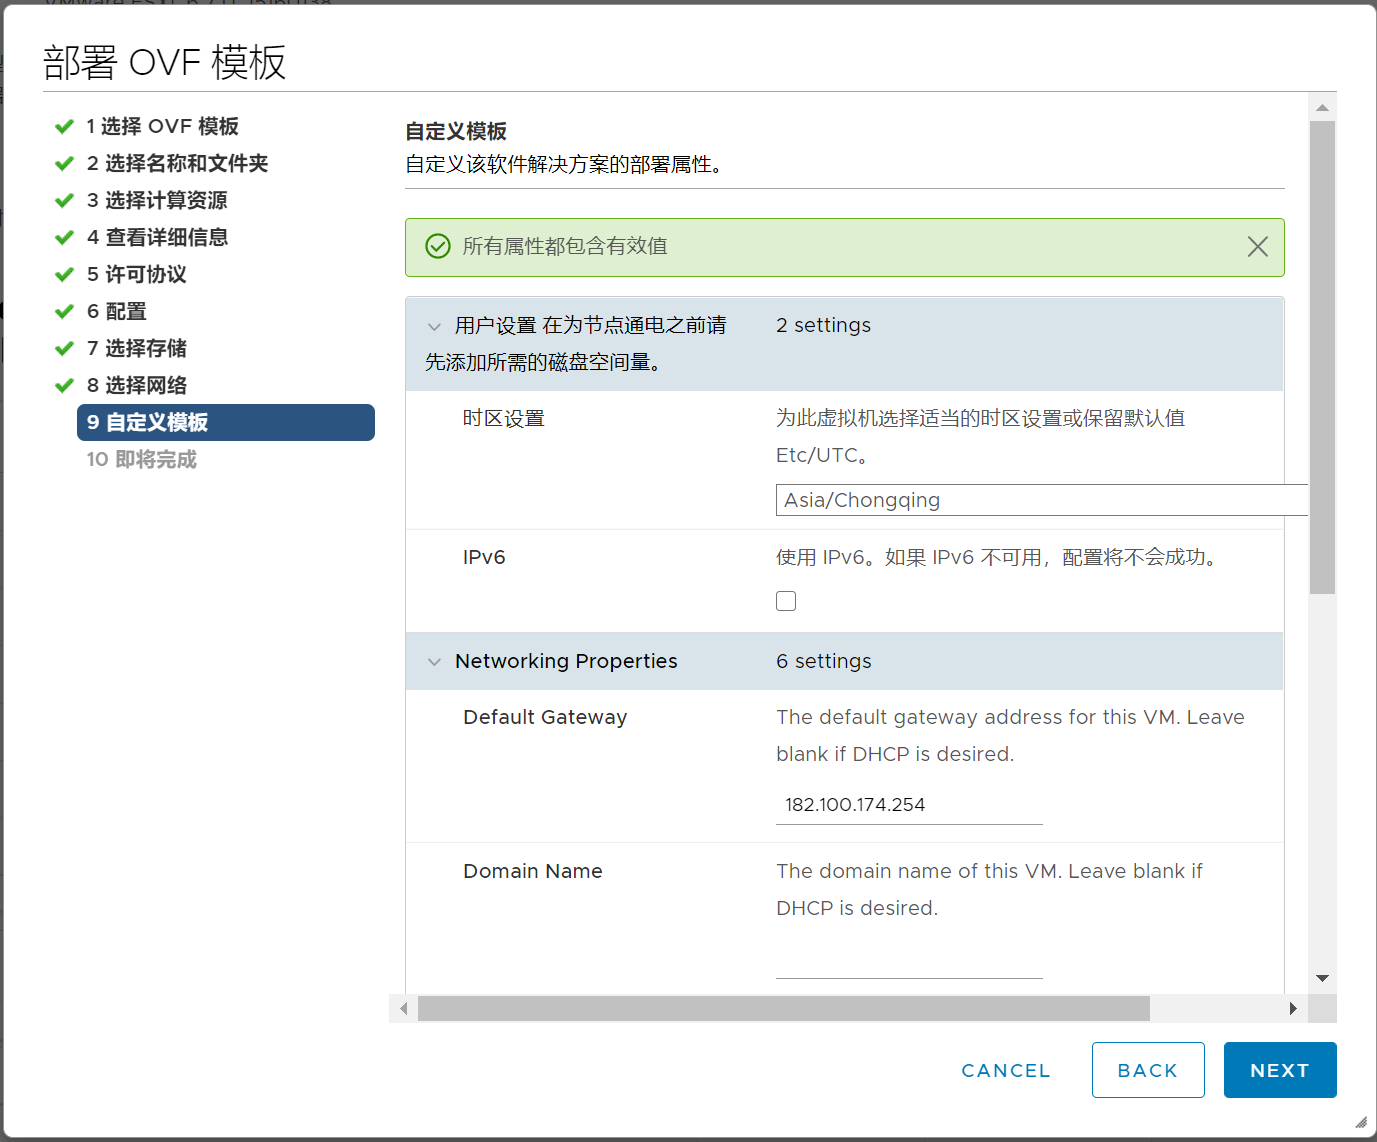
7、填写时区,网关,IP,掩码信息。
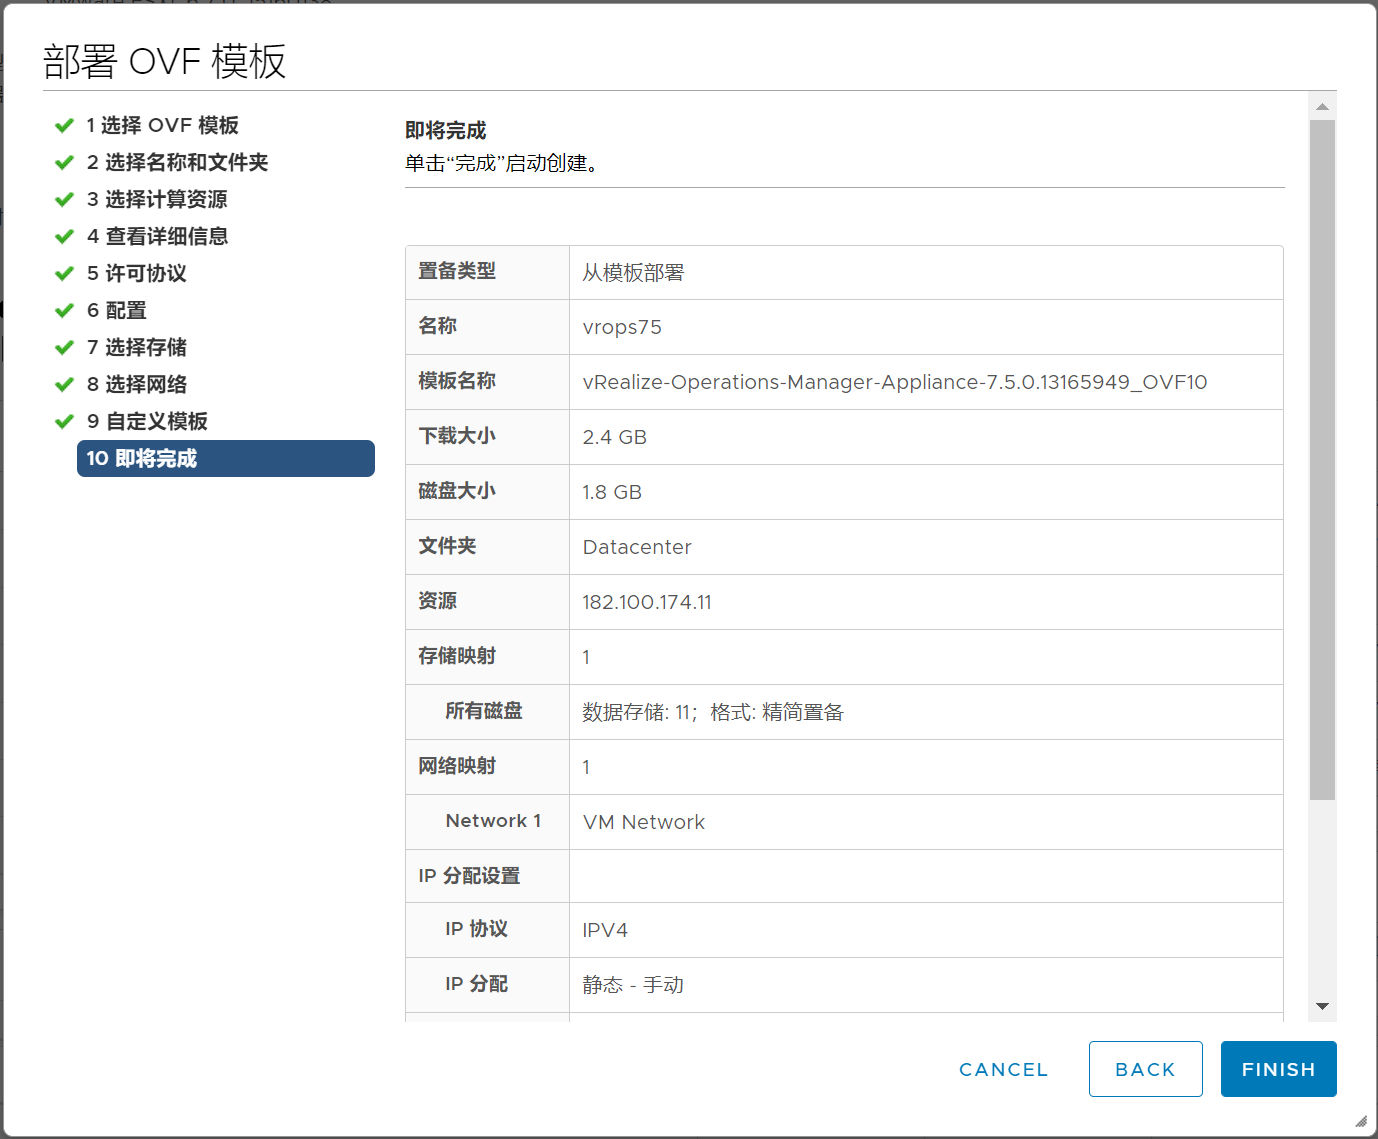
8、点击FINISH
9、等待OVF模板导入完毕,之后打开虚拟机电源。
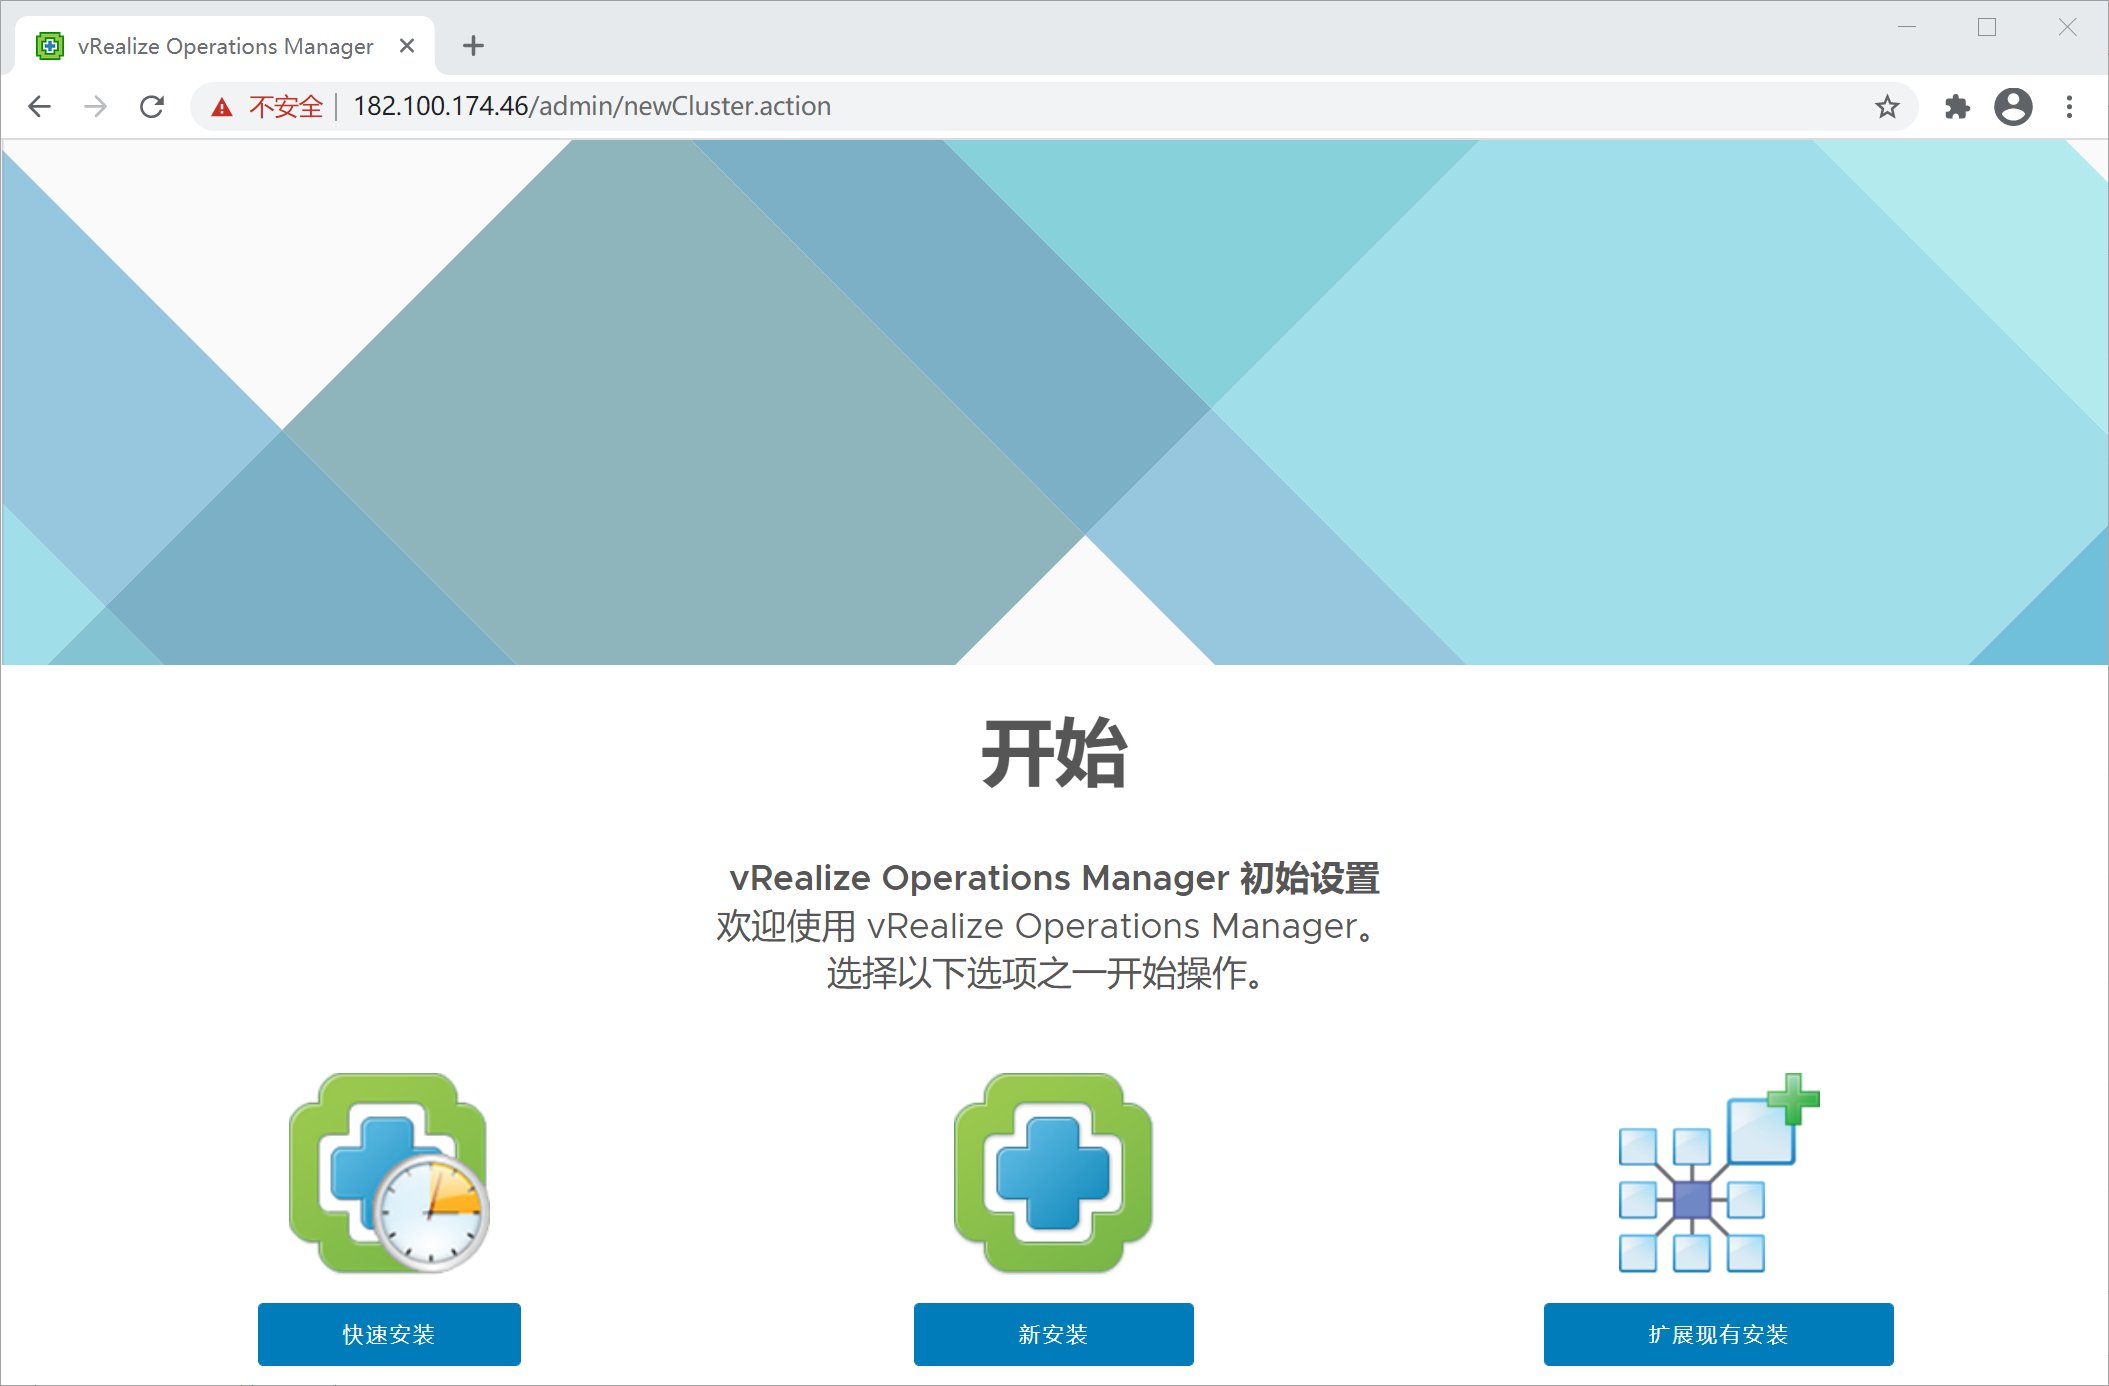
三种安装类型方式解析:
全新安装:作为首次用户,您可执行全新安装,创建一个节点来执行管理和数据处理。
快速安装是创建主节点、添加数据节点、构建群集以及测试您的连接状态的一种可行方法。与全新安装相比,使用快速安装可节省时间,加快安装进程。
扩展安装:使用此选项向现有vRealize Operations Manager群集添加节点。
本文档使用的是“快速安装”
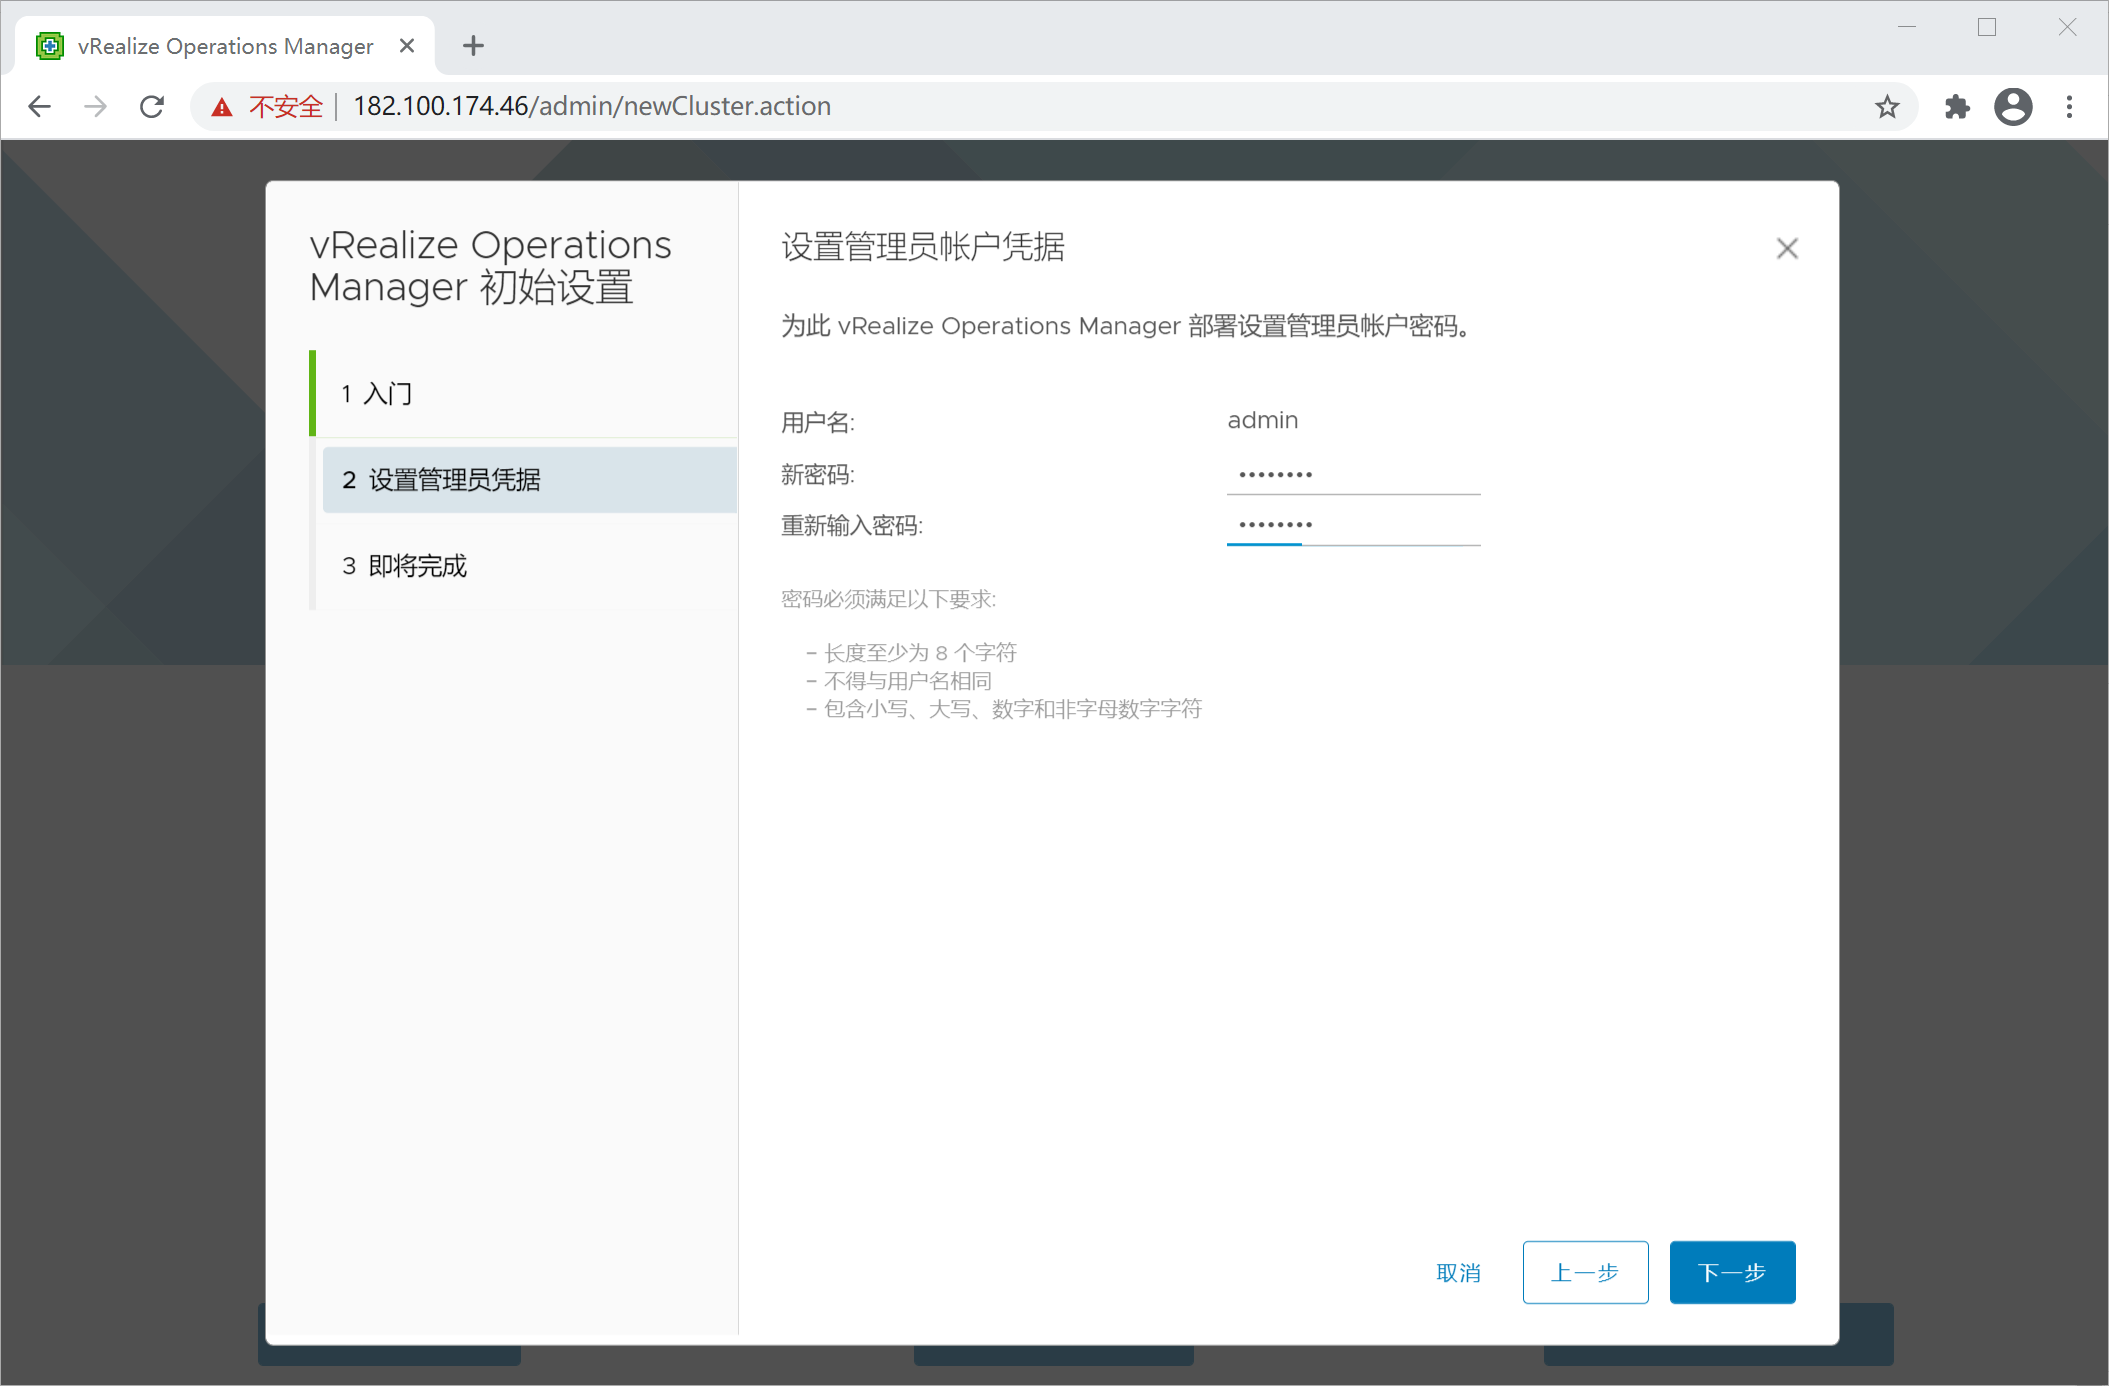
10、设置管理员账户信息
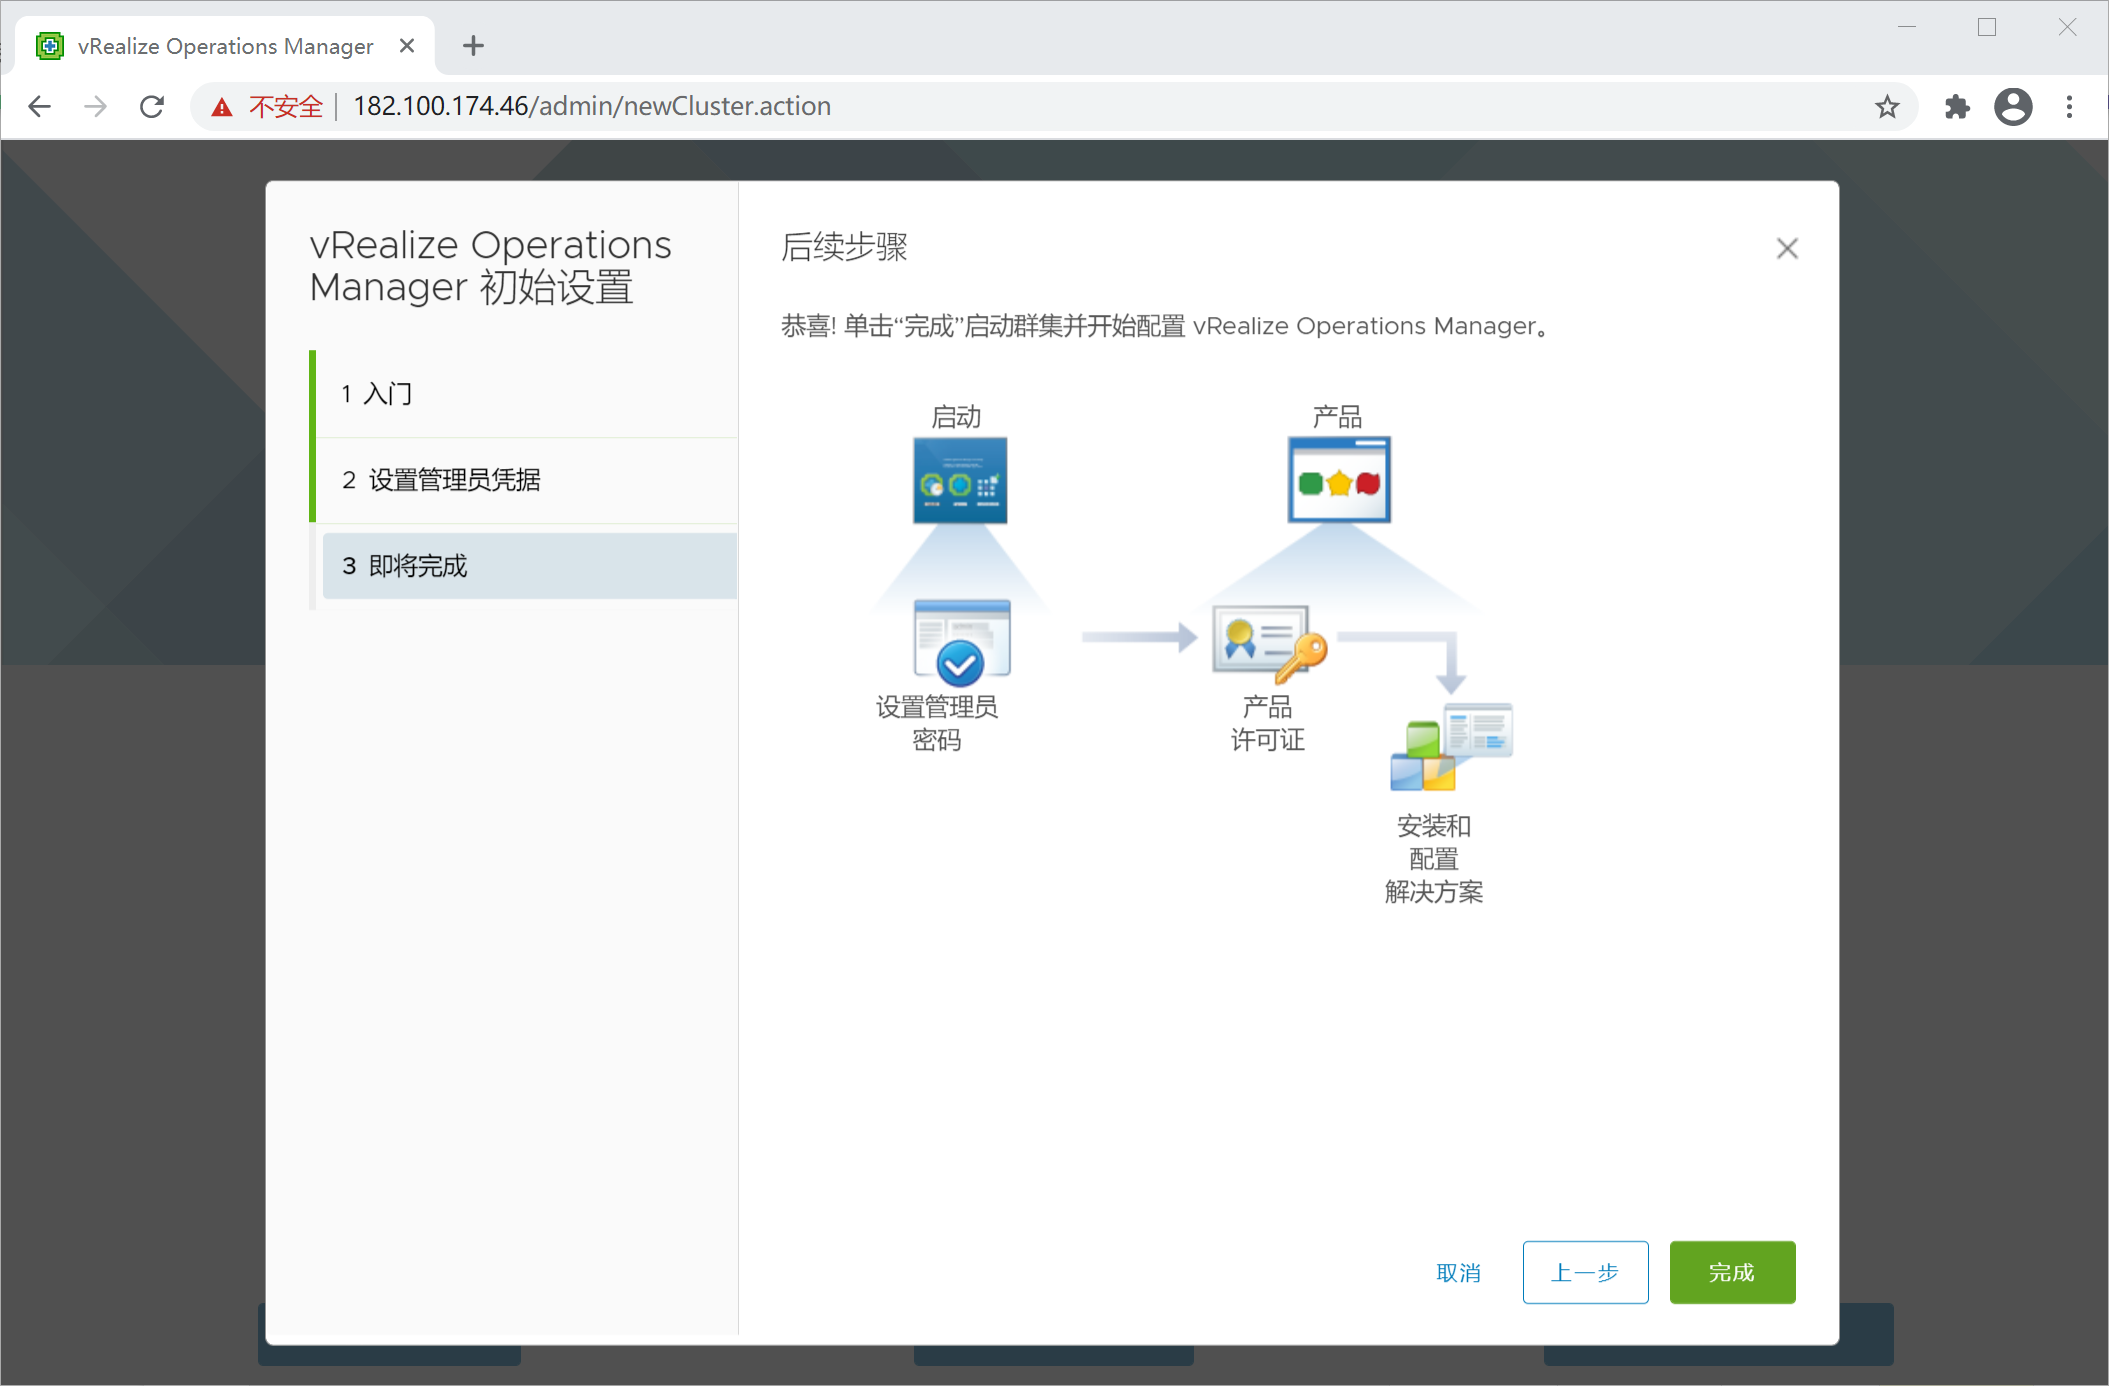
11、点击完成,
12、开始部署
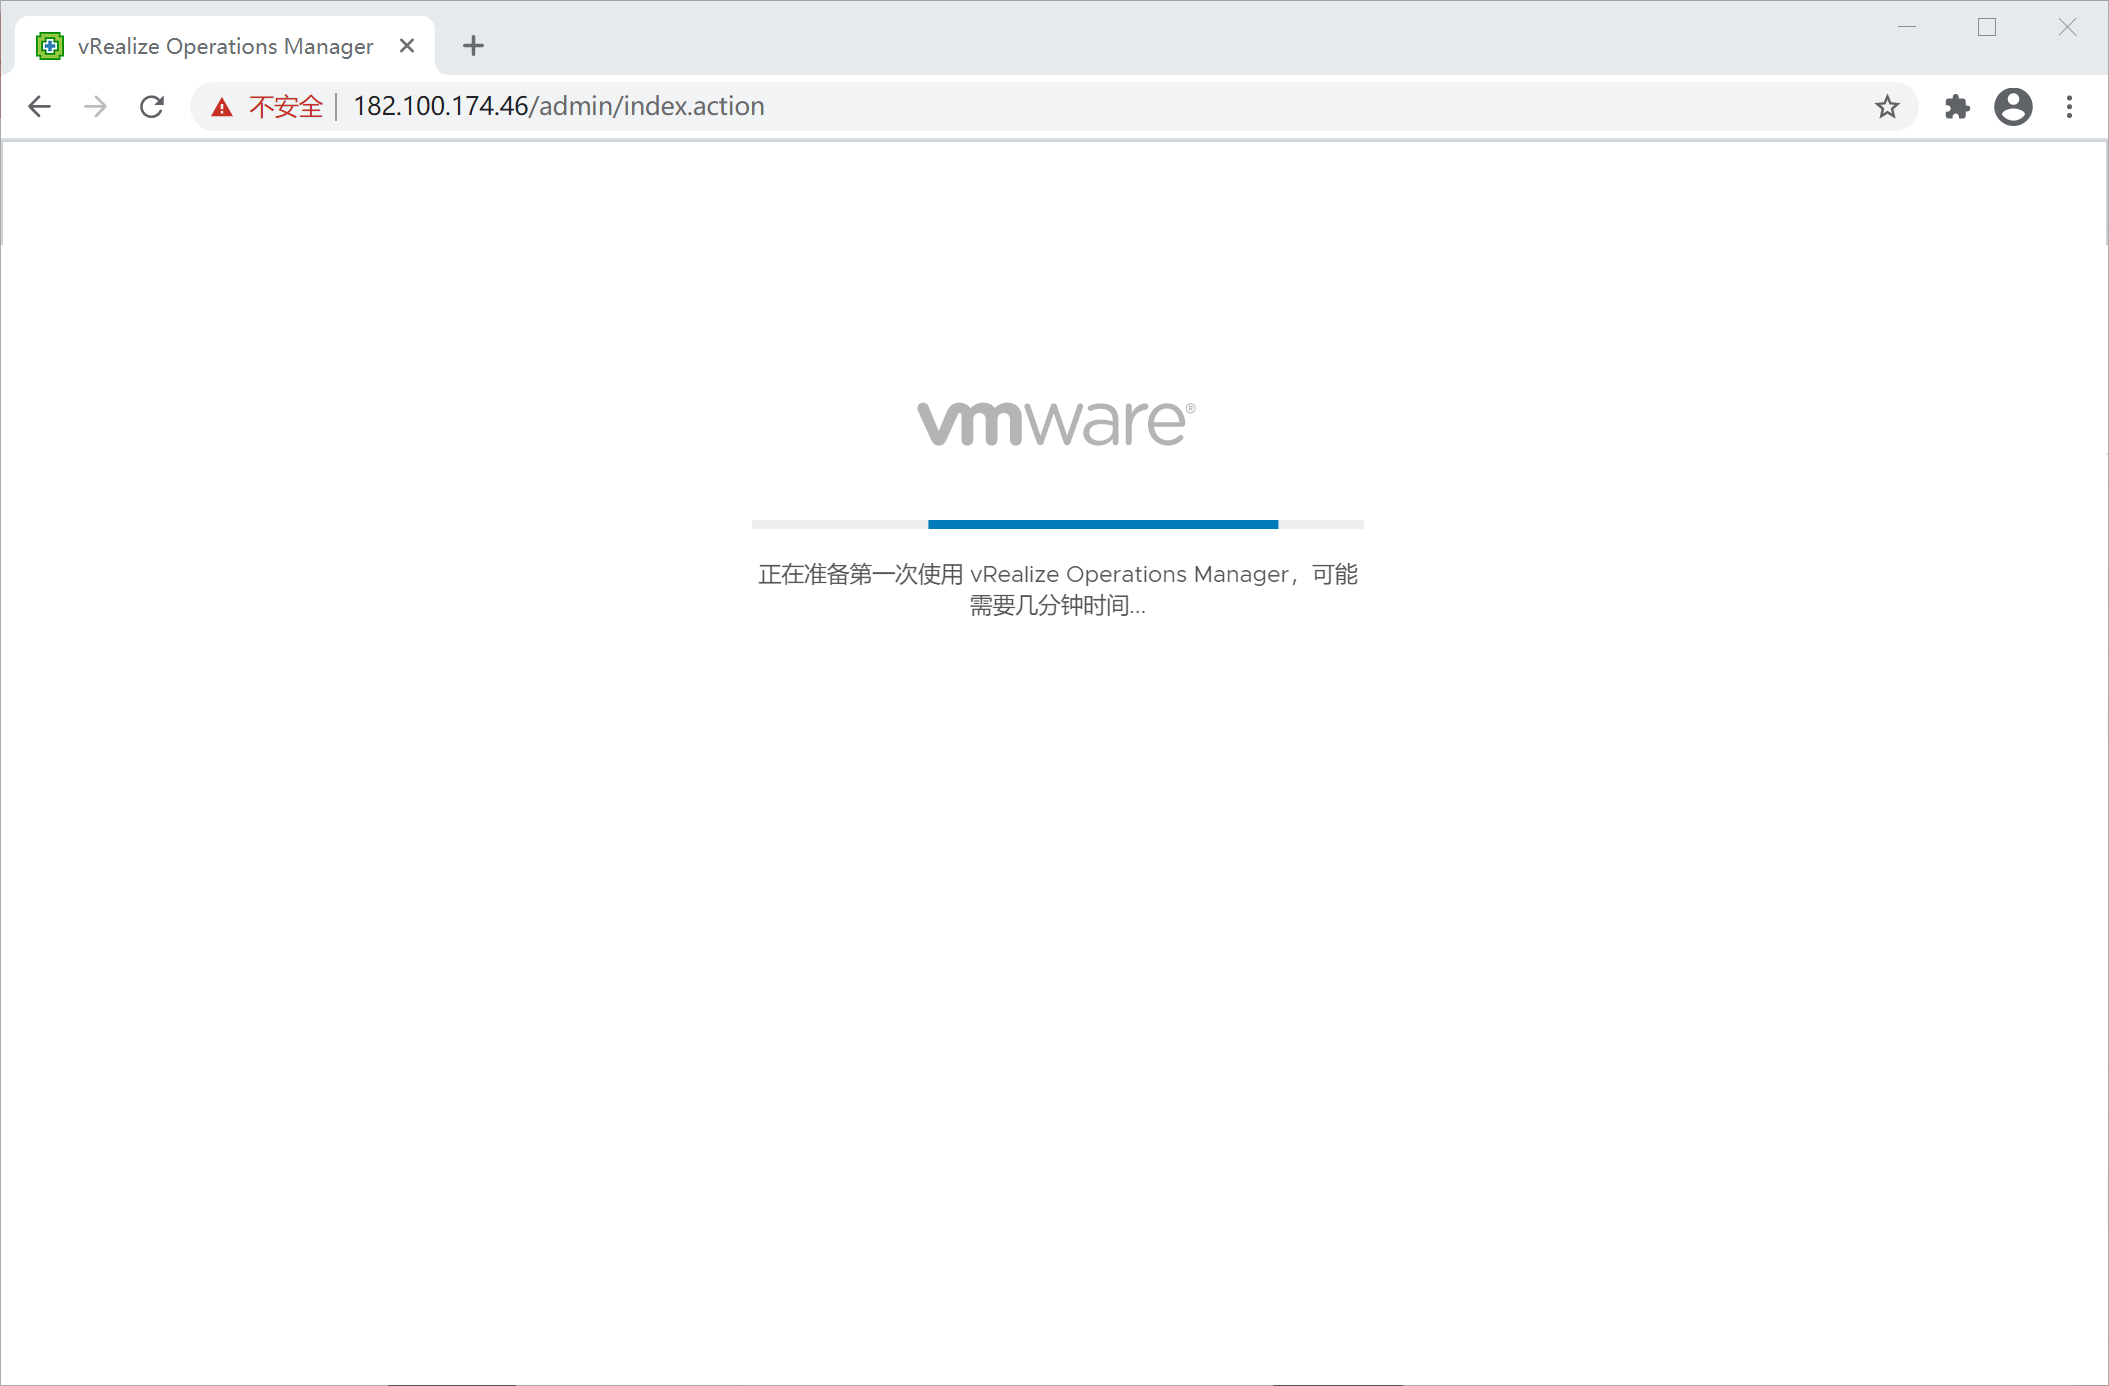
13、耐心等待部署好之后,进入登陆窗口
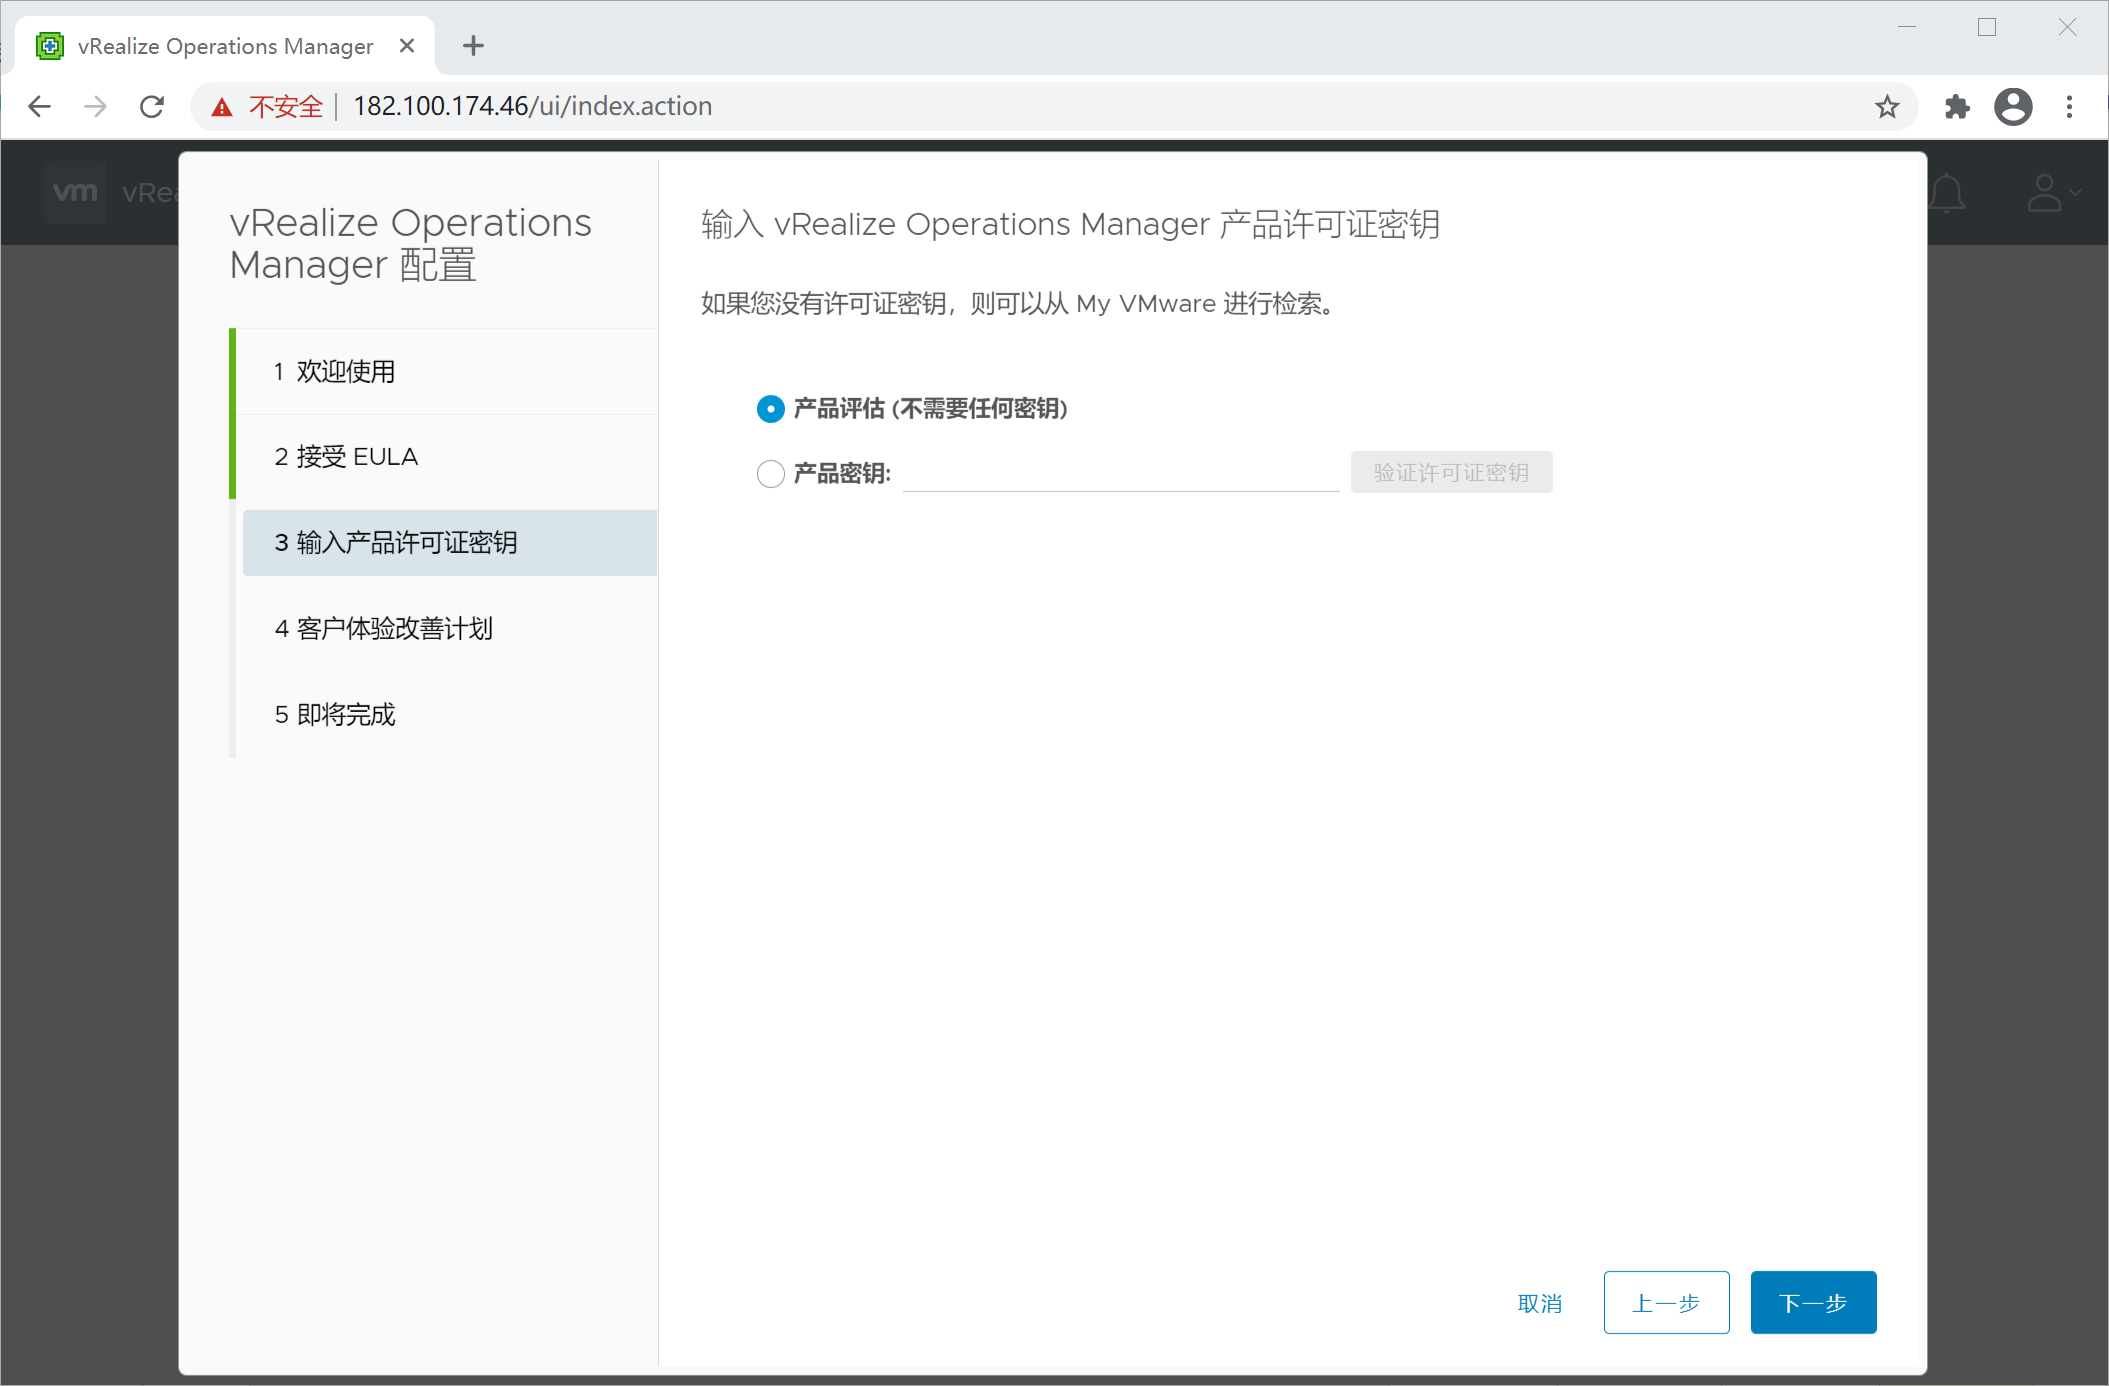
14、输入License,本文档使用评估许可证,License也可以在后续导入。
15、配置解决方案
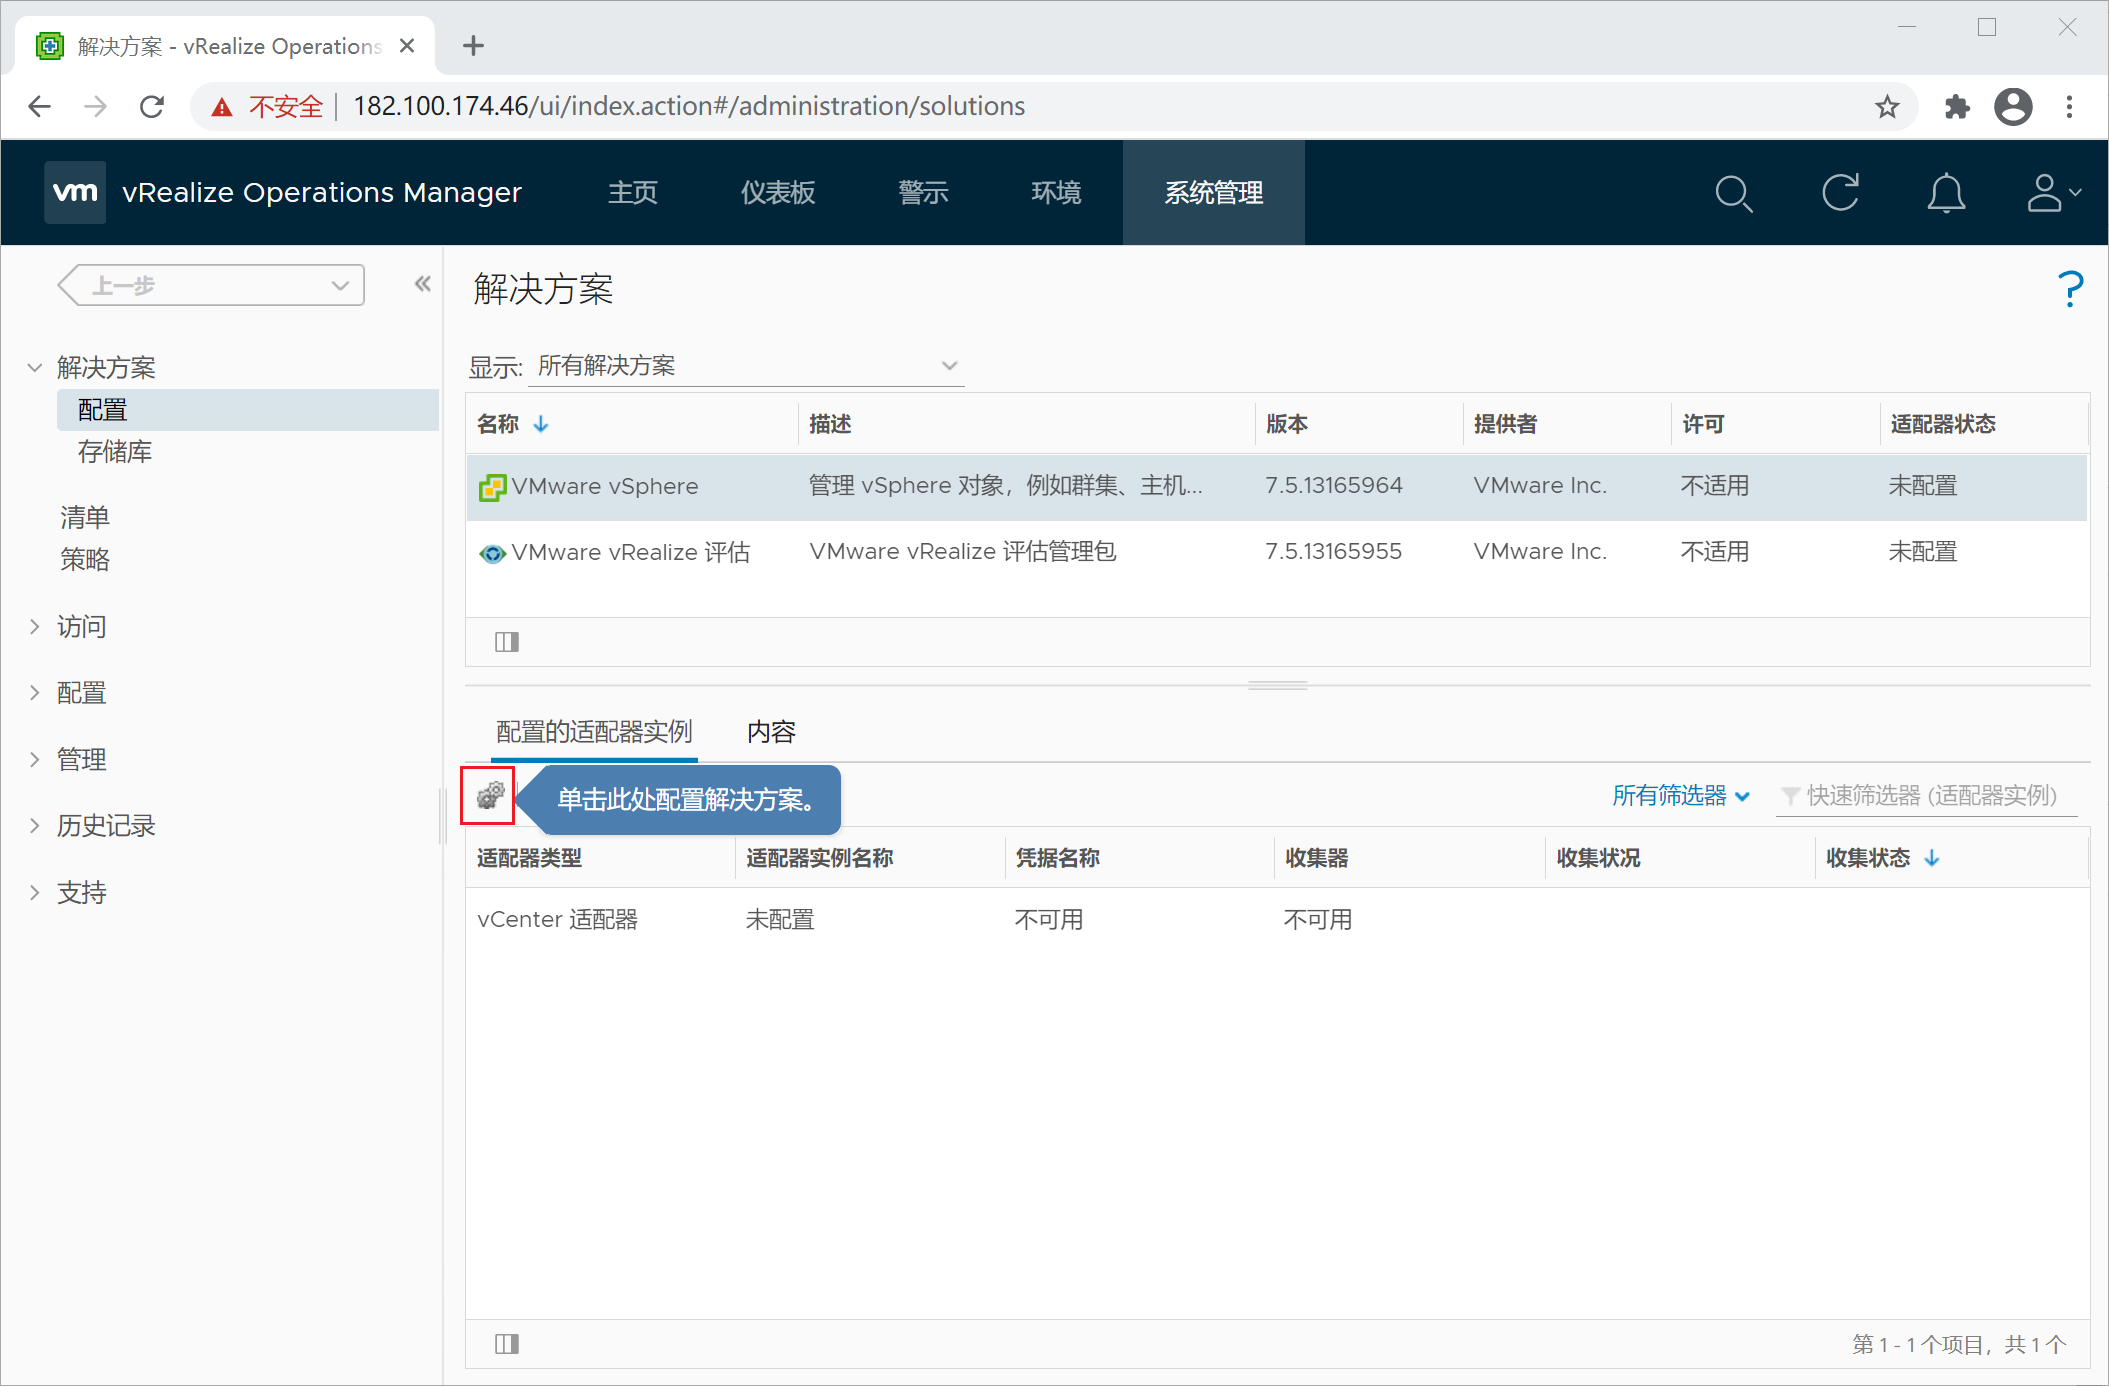
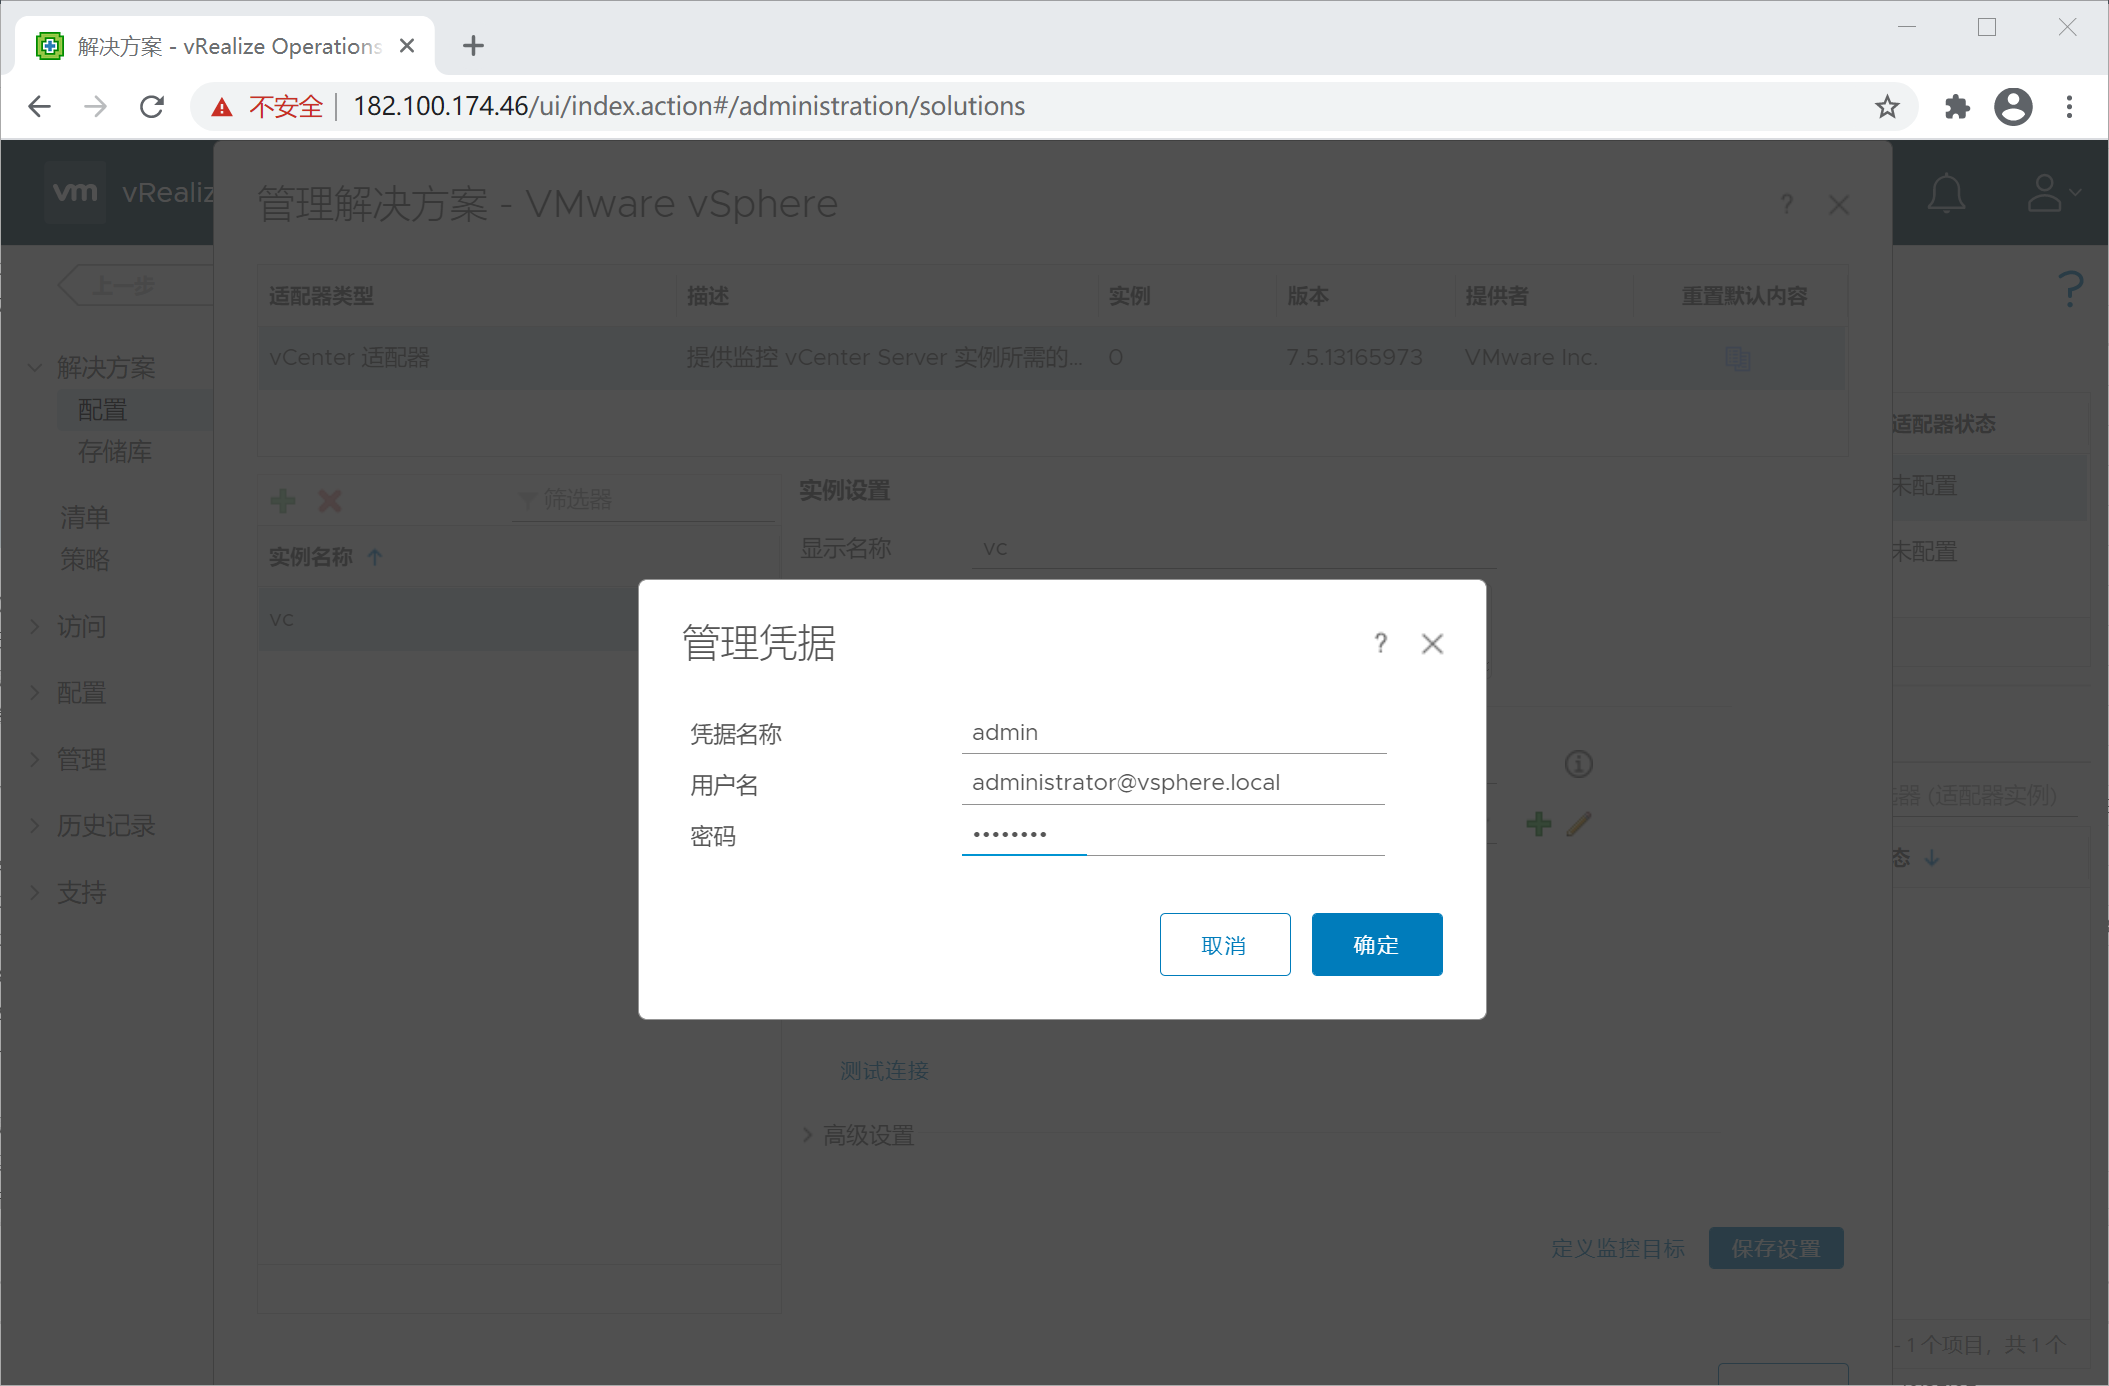
16、添加vCenter实例
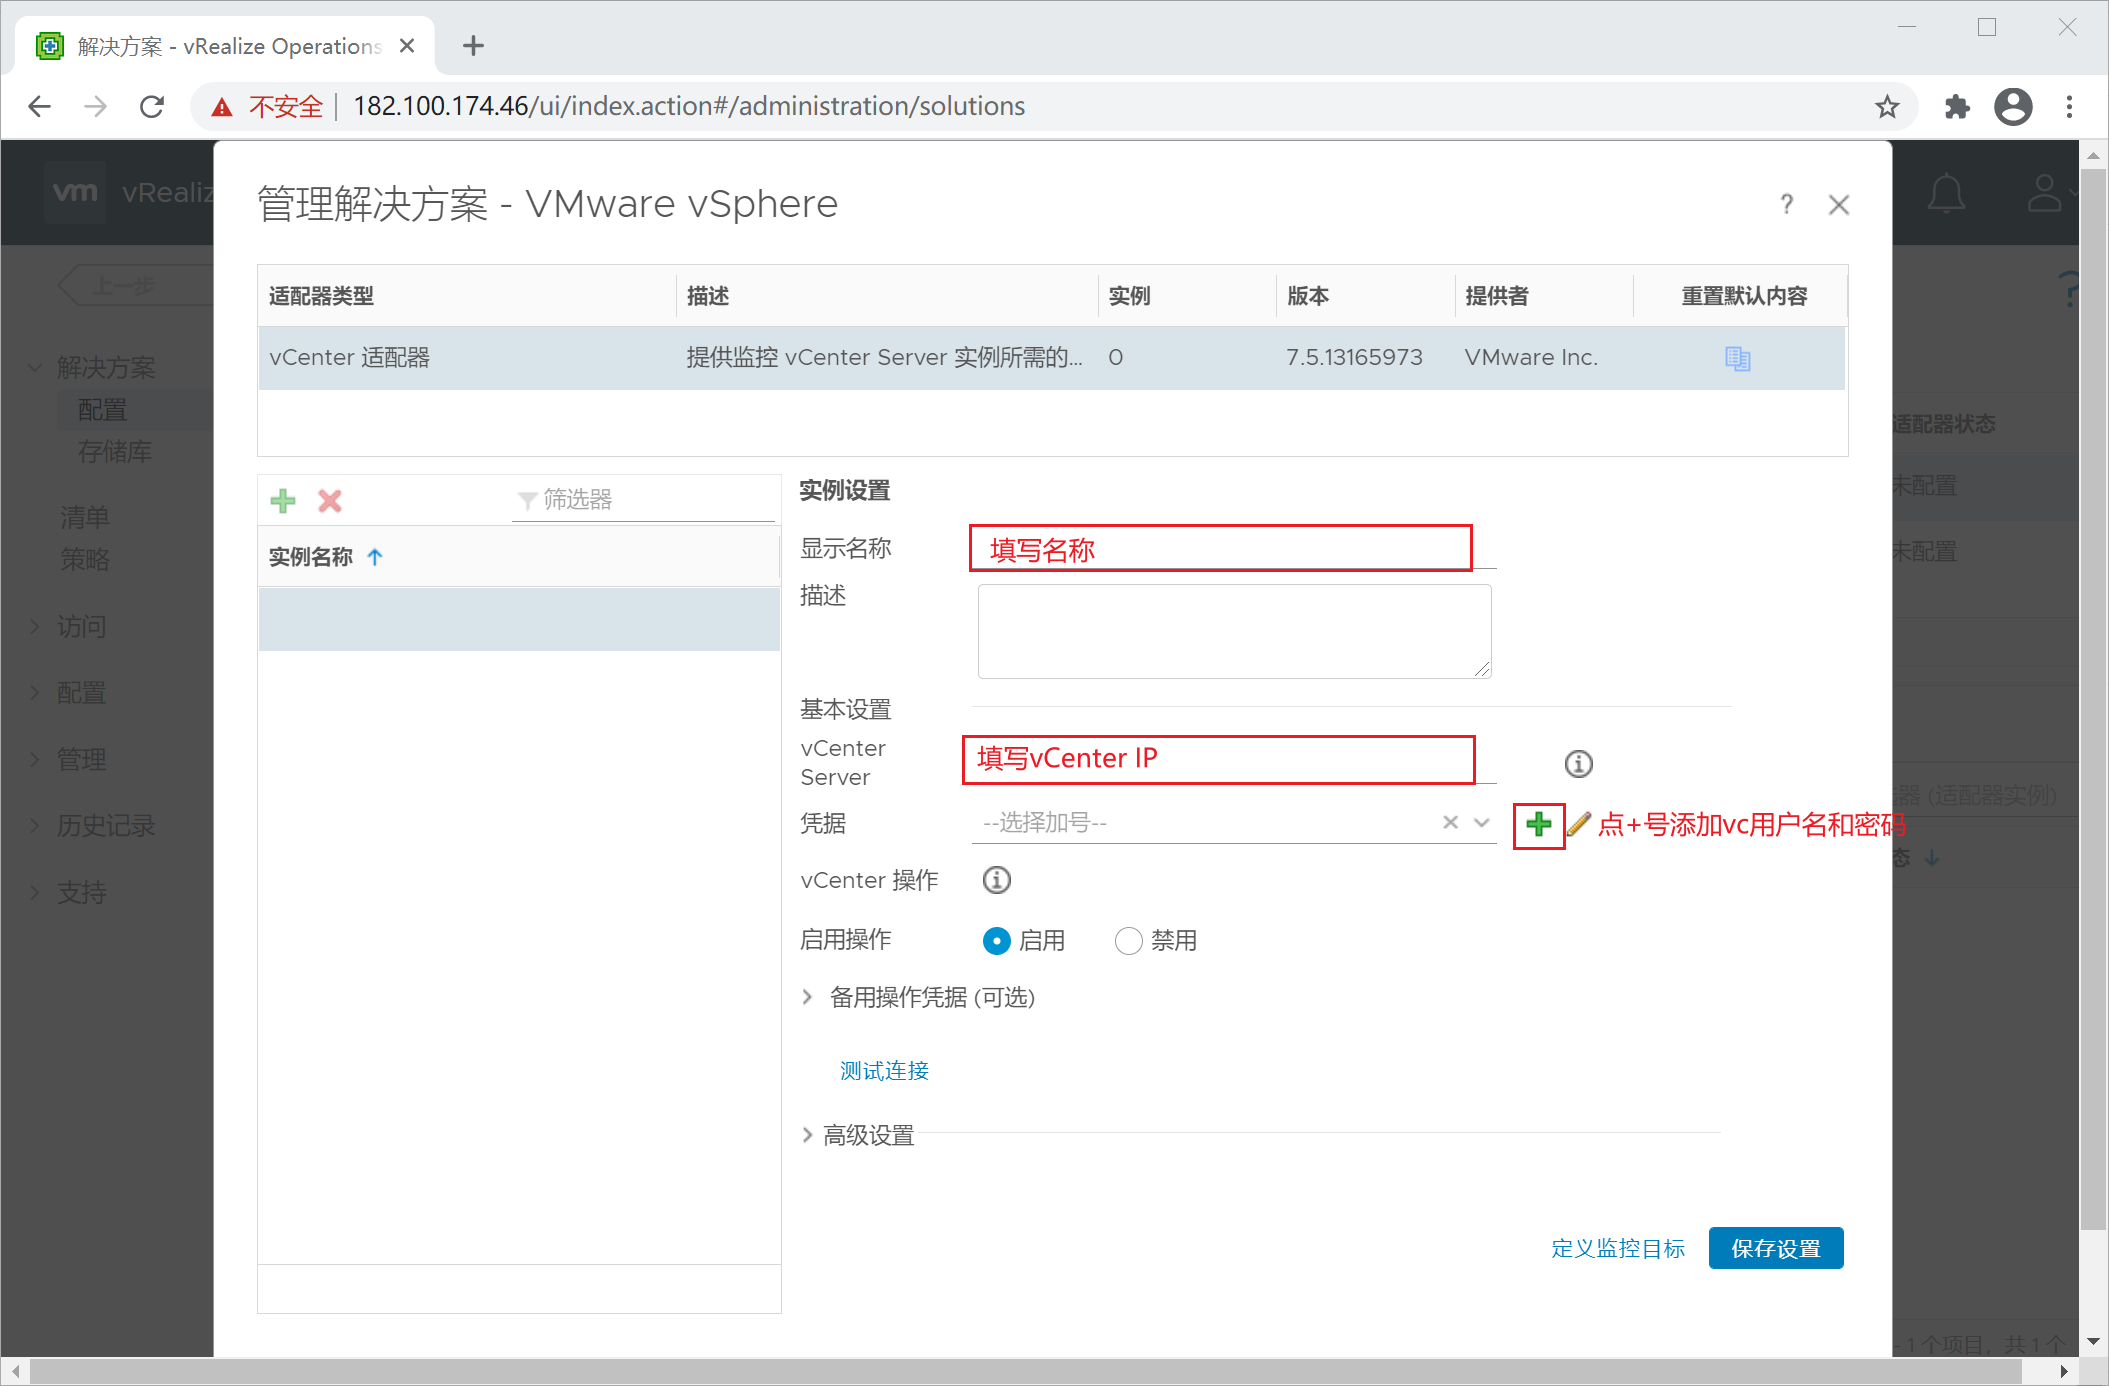
17、填写vc管理员账户密码
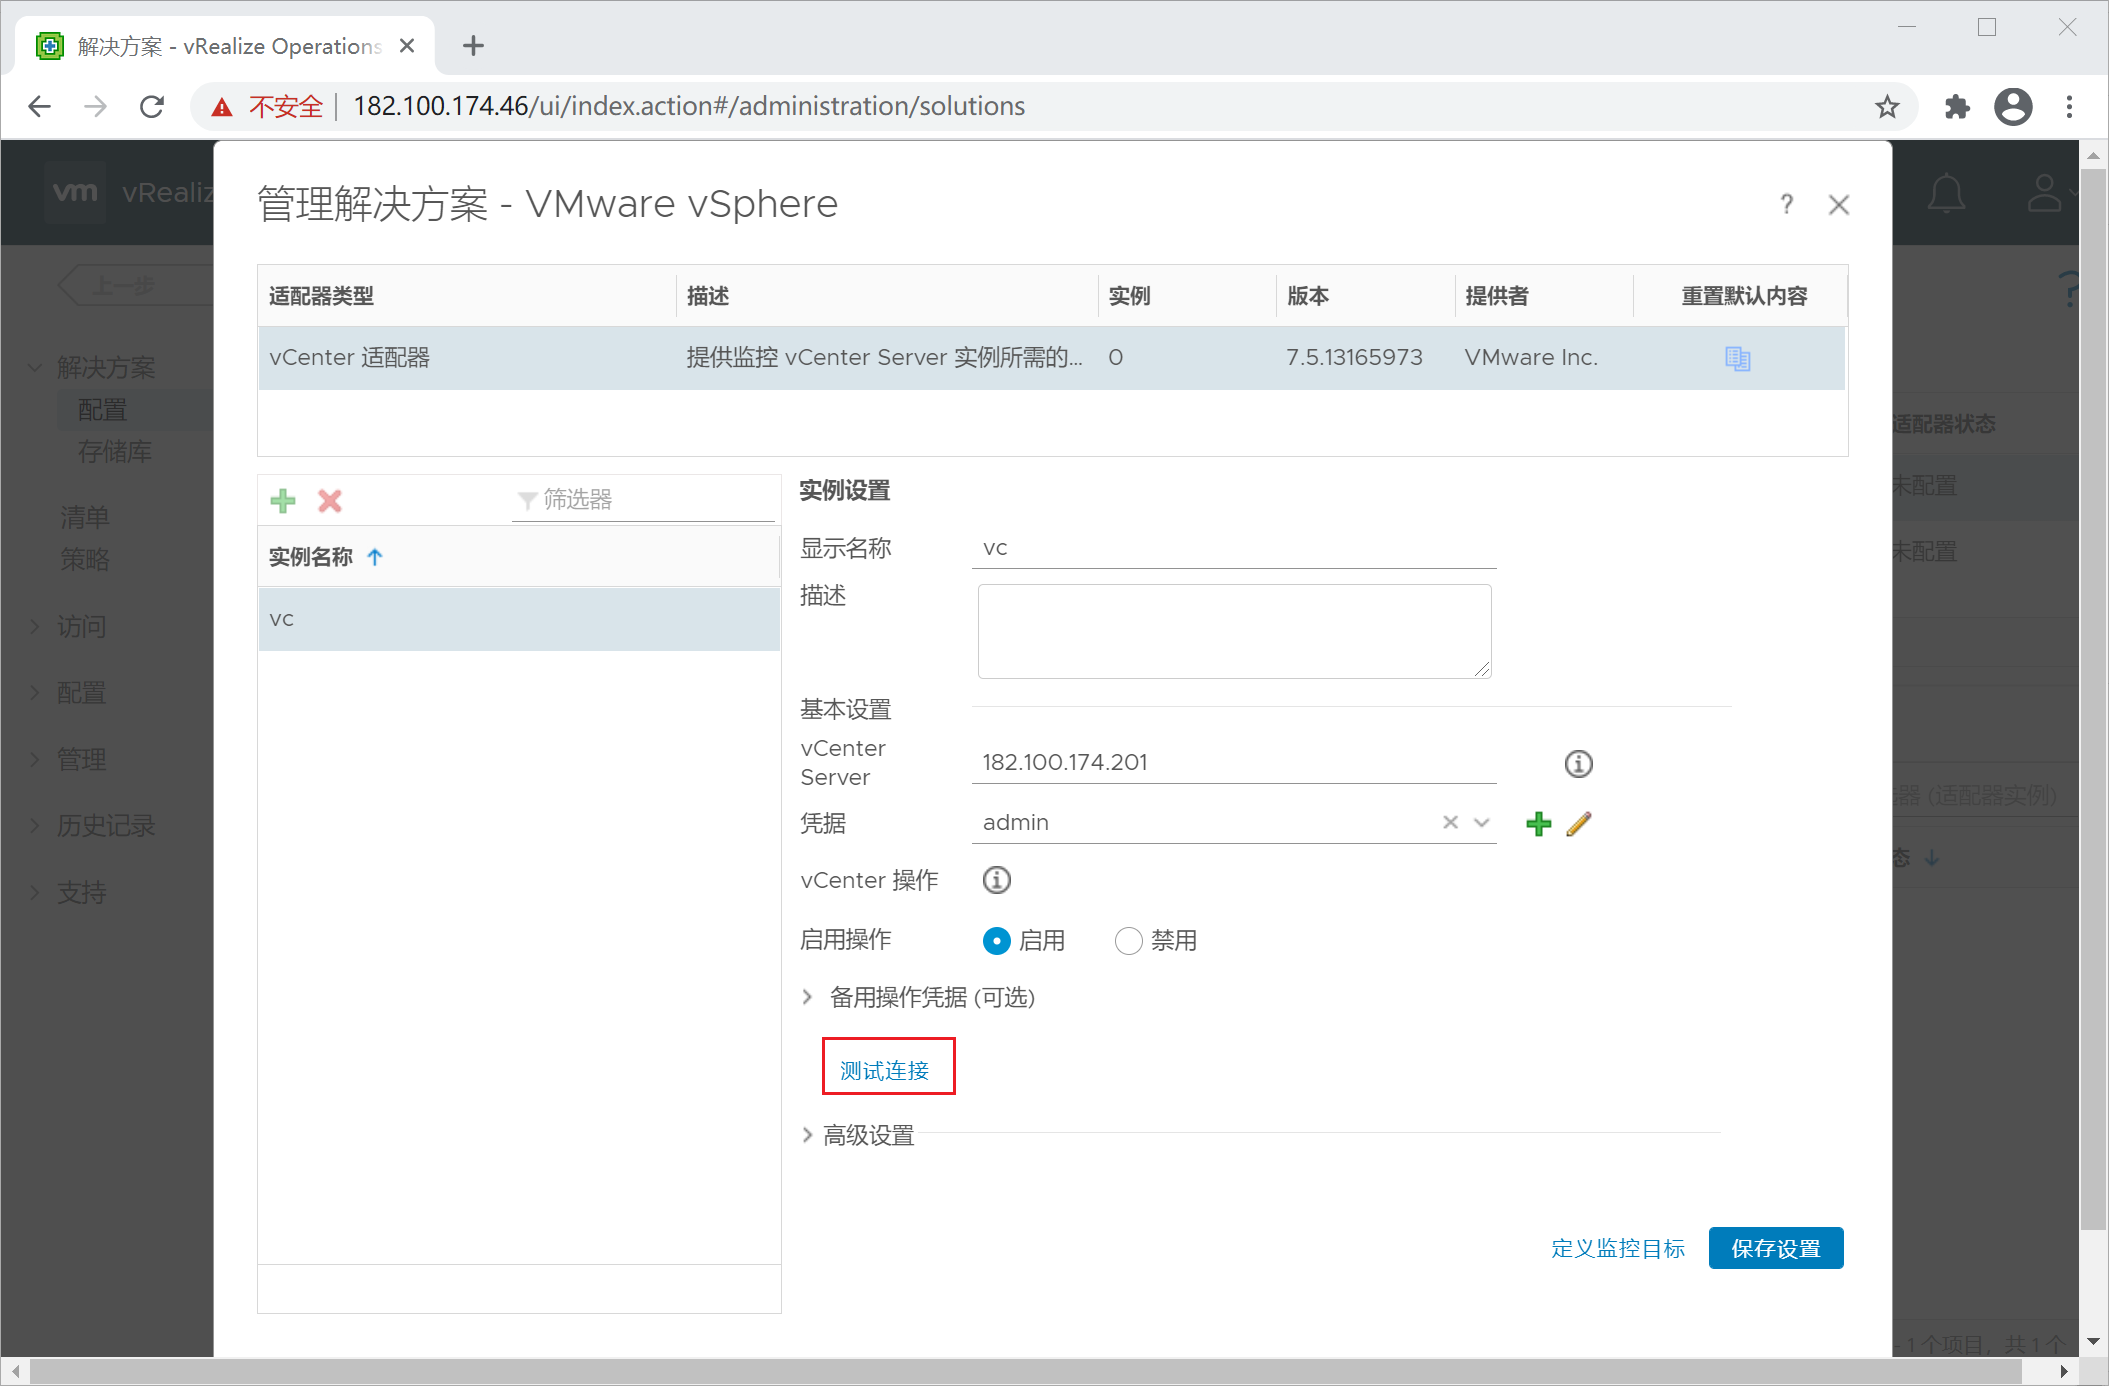
18、测试连接,通过之后再点击保存设置。
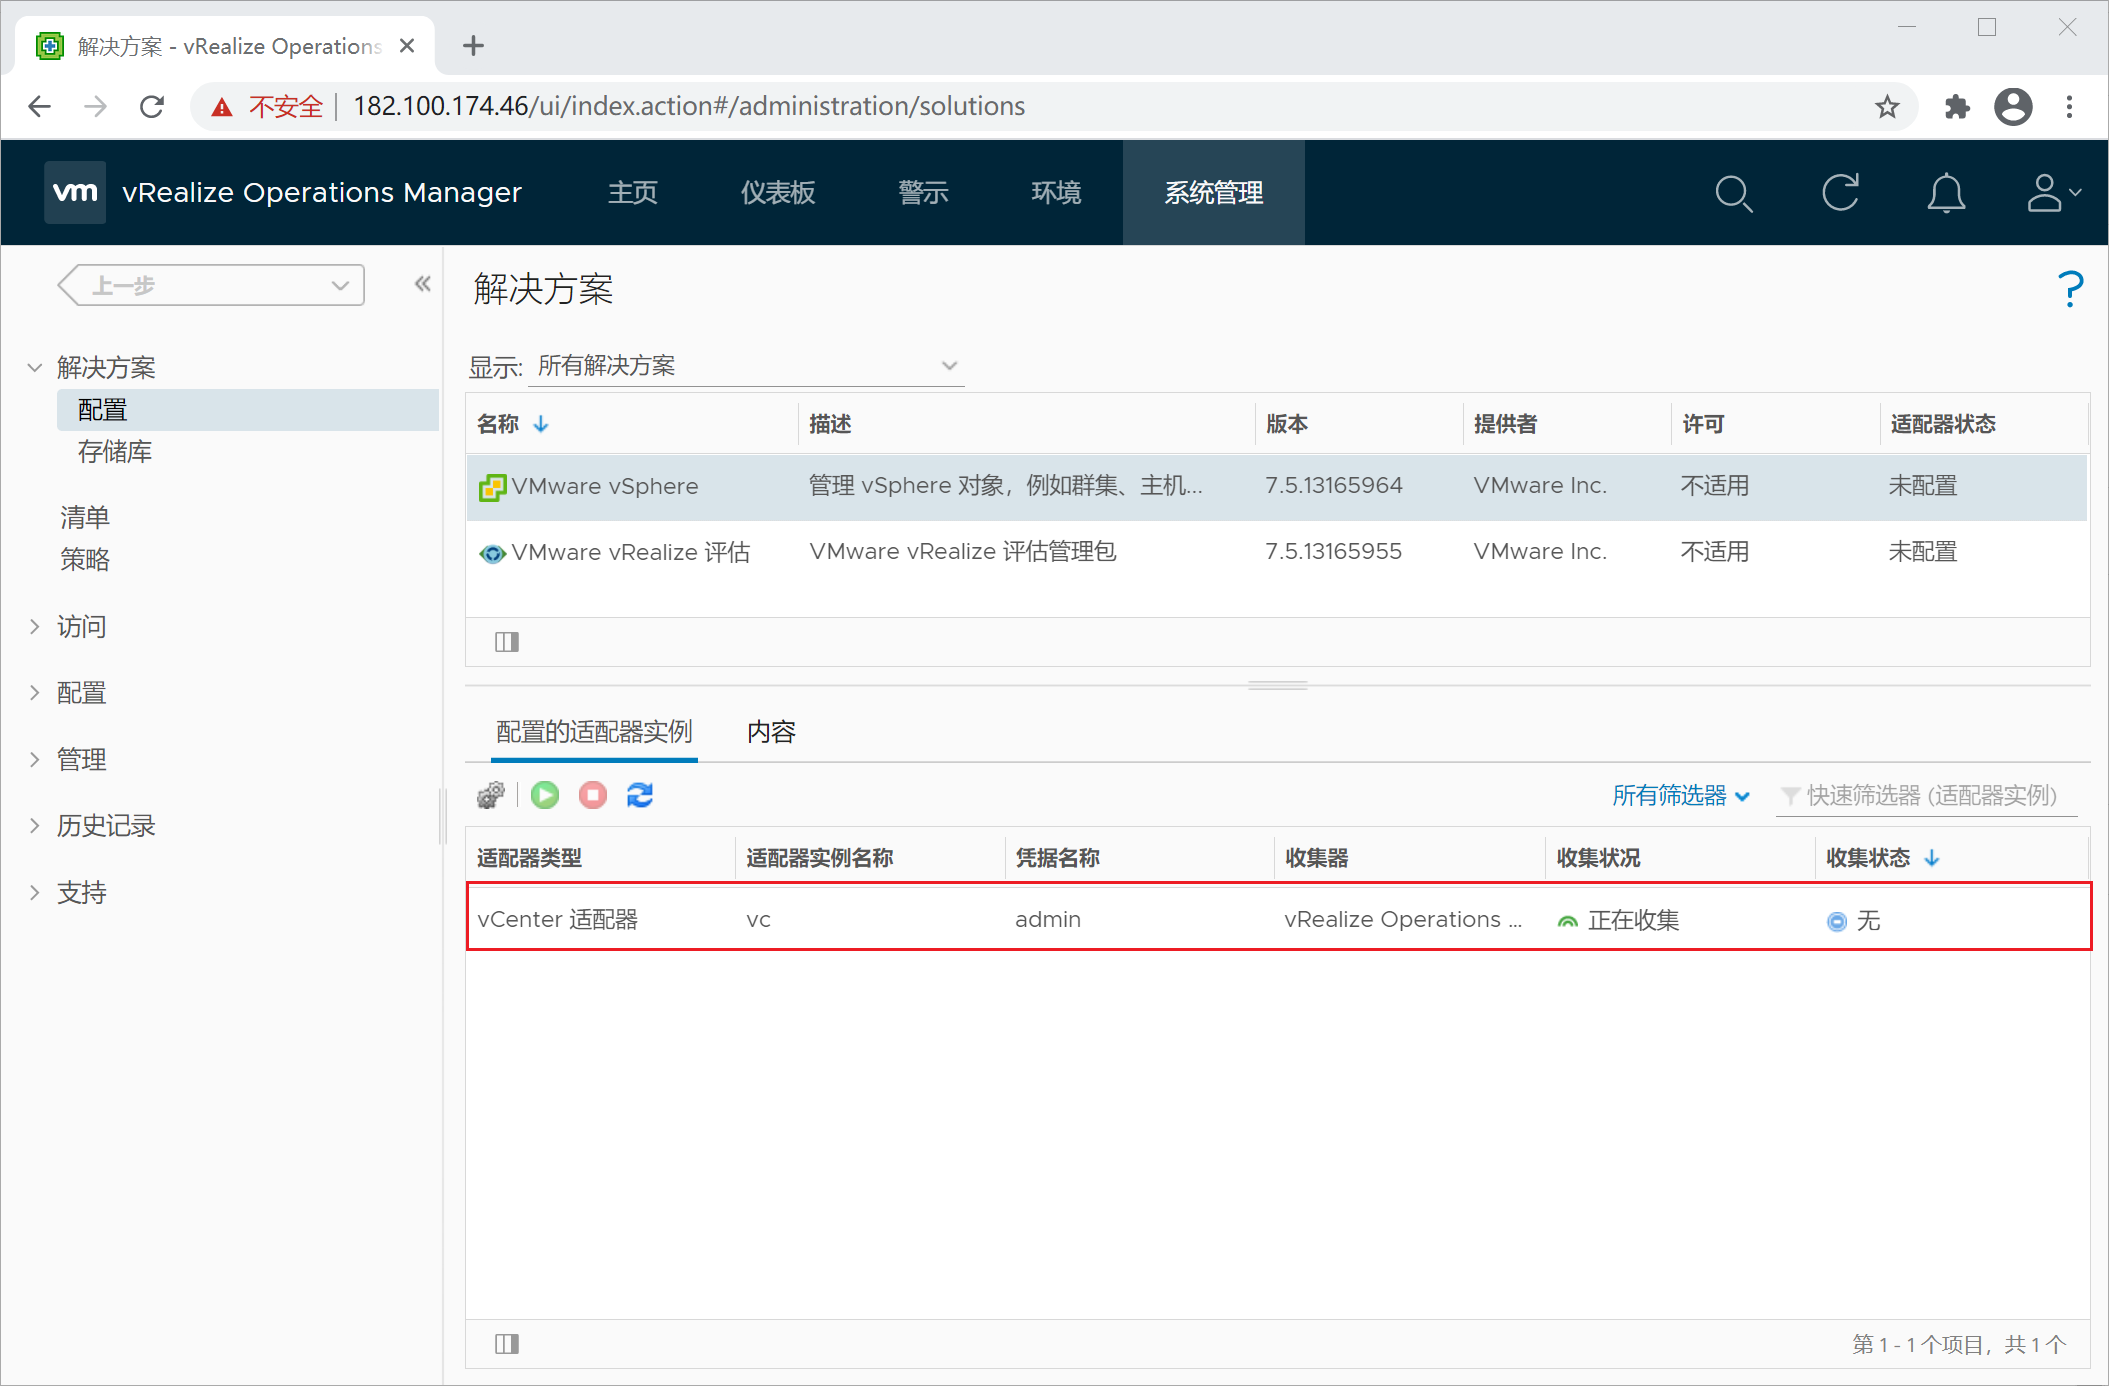
19、vCenter适配器已经添加成功。
发表评论